 Scribba
Drawing classes ask for a lot of drawing outside class. Most instructors assign sketchbook work every week: gesture drawings, studies of your hand, a still life on the kitchen table, perspective exercises. The sketchbook is graded on effort and habit as much as on quality, and it's where most of your improvement happens.
An iPad can be a good home for that daily practice, especially for the notes and studies around it. Before setting one up, though, it helps to be clear about what kind of app you're using.
First, an honest note about Scribba
Scribba is a notes app for class, not a painting app. It has six pen types, pressure sensitivity, colors and an eraser, which is plenty for line drawing, sketching and studies. It doesn't have the things painting apps are built around, like layers, blend modes or brush libraries. If your class is about digital painting or illustration, you'll want a dedicated art app for that work.
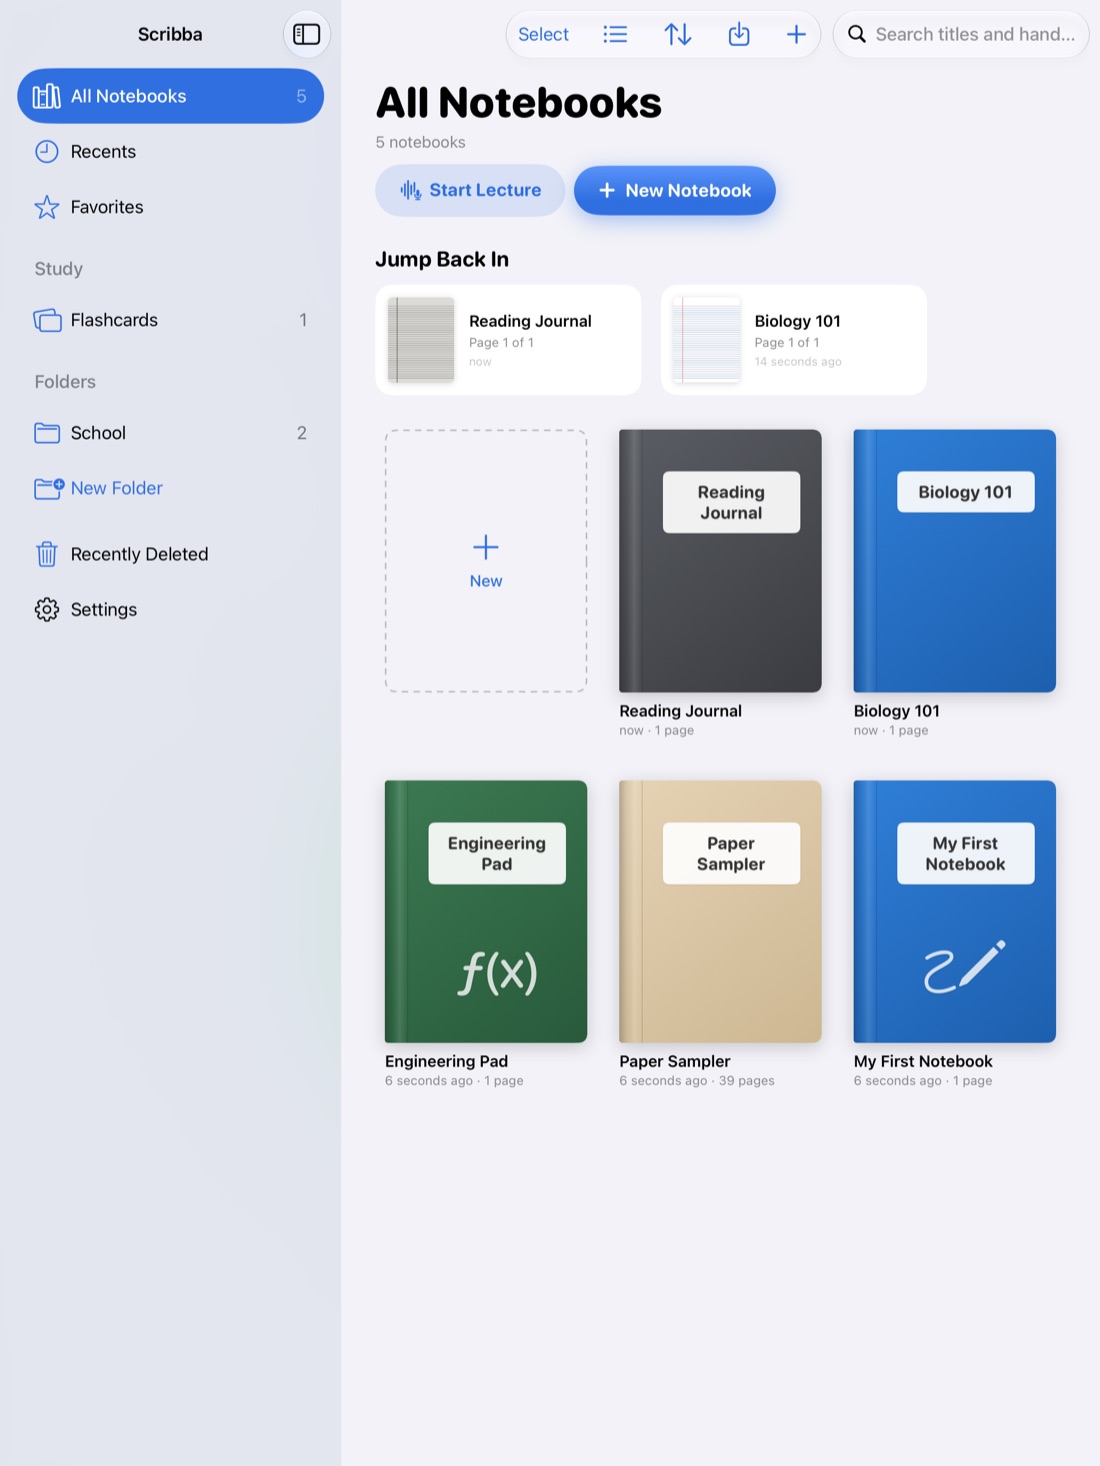
Where Scribba fits well is the sketchbook side of a drawing class: quick daily studies, demo notes, reference photos, critique feedback and the terms you'll be tested on, all in one notebook beside your other classes.
Also check your syllabus. Many drawing instructors require a physical sketchbook, or specific media like charcoal and graphite on paper. An iPad sketchbook can be a supplement for extra practice, but don't swap it in without asking.
What to practice, and how often
Drawing is a skill built through repetition. Short, regular sessions tend to do more than one long session before the sketchbook is due. A useful weekly mix:
- Gesture drawings. Thirty seconds to two minutes each. Capture the movement and weight of a figure or object with loose, fast lines. Don't erase.
- Blind and modified contour. Draw the edge of an object slowly while looking at it, not the page, or glancing down only occasionally. It trains your eye more than your hand.
- Value studies. Small thumbnails in three to five values, from light to dark, to plan where light falls before you draw details.
- Perspective boxes. Ten boxes at different heights and angles, as a warm-up.
- Observational studies. Draw what's in front of you, not from photos, whenever you can. Your hands, shoes and a crumpled paper bag are classic subjects for a reason.
Date every page. Looking back over a month of dated pages is the clearest way to see your progress, and many instructors want to see that progression at the end of term.
Tip: set a timer for gesture work and move on when it goes off, finished or not. Speed is the point, and a timer stops you from polishing.
Pens that feel like drawing tools
Scribba's six pen types are ballpoint, fineliner, fountain, pencil, brush and crayon. For a drawing class, three of them do most of the work:
- Pencil for sketching, construction lines and gesture drawings. With pressure sensitivity on, pressing harder makes a heavier line, so you can vary line weight as you would with graphite.
- Brush for expressive line work and soft, brushy marks, where thick and thin strokes show weight and direction.
- Fineliner for clean contour drawings and final lines over a pencil sketch.
Crayon gives a bold, textured mark that works for loose studies. Double-tap the pen tool to open pen settings, where each pen type has a live preview, and adjust thickness, pressure sensitivity and stabilization. Stabilization smooths your line, which helps for slow contours; for gesture drawing, you may prefer less of it so the line keeps your hand's energy. See which pen type is best for more on these settings.
Value without layers
Since there are no layers, plan your value studies the way you would in a paper sketchbook. Build value with hatching and cross-hatching, using the pencil or fineliner at a few saved widths. Keep three grays or tones as saved colors for quick thumbnail studies. The whole-stroke eraser takes out a line in one tap, and the pixel eraser rubs out just part of a stroke, which is handy for carving a highlight back out of hatching.
Choose your paper
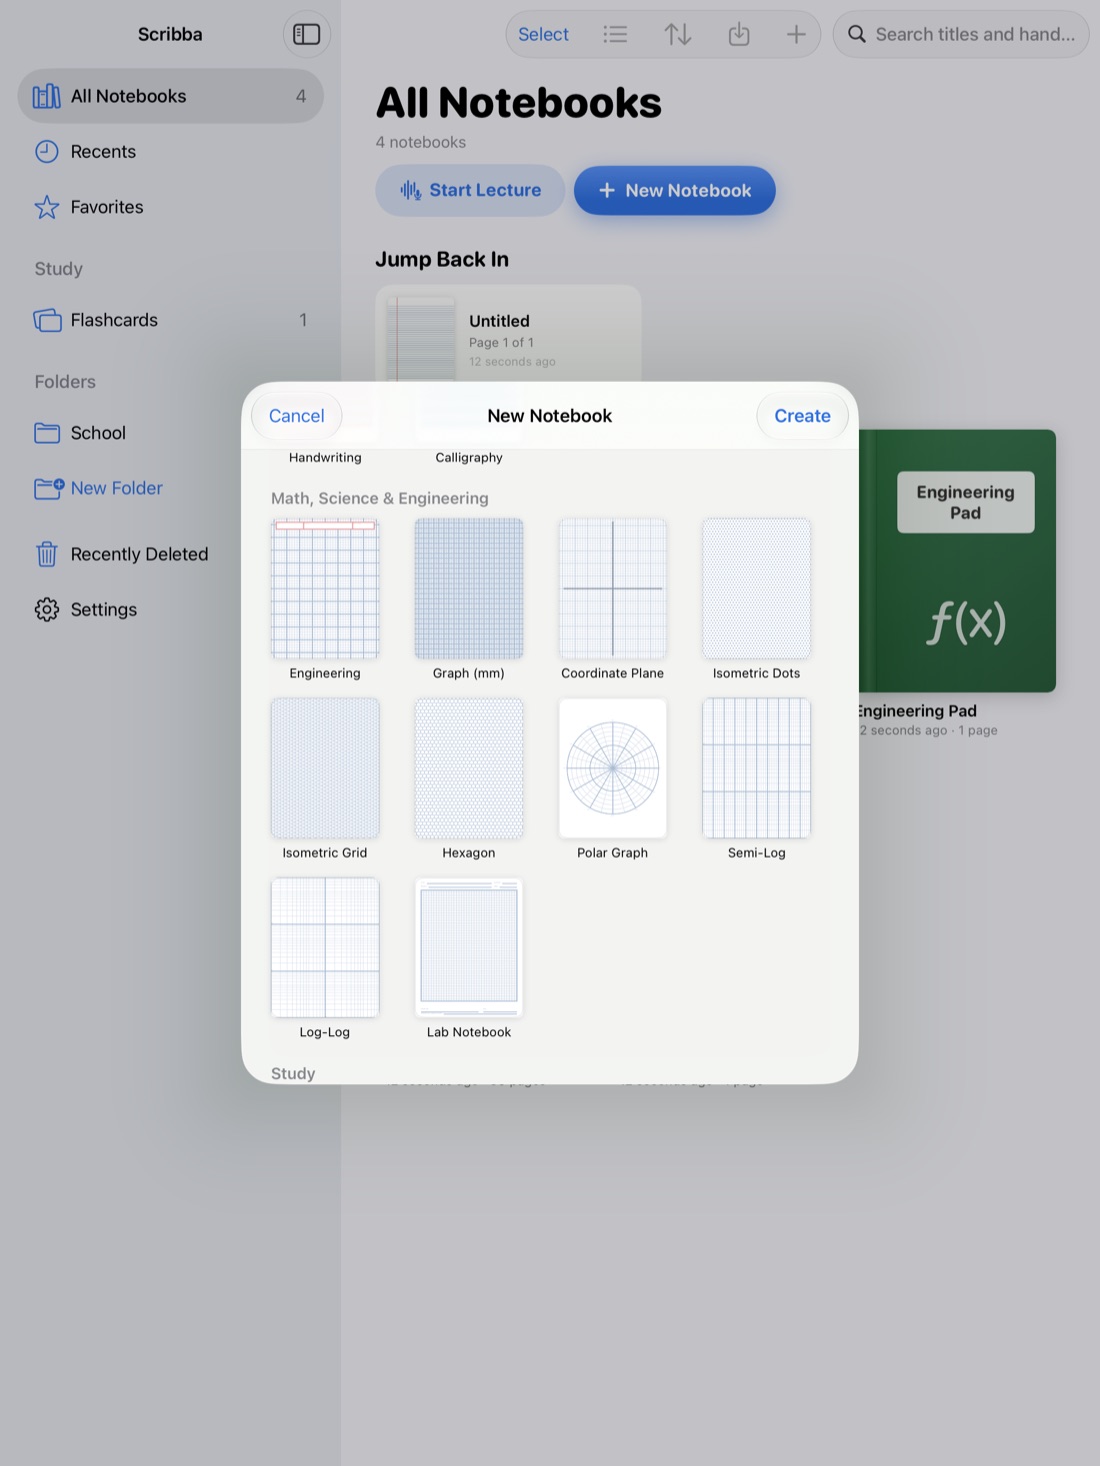
In Scribba, paper type and color change per page from the page sidebar. For a sketchbook:
- Blank for most drawing.
- Dot grid when you want light guides for proportion.
- Perspective for two-point perspective practice, with a HORIZON line and guide rays from two vanishing points. The perspective drawing guide walks through the method.
- Ivory or gray paper for a softer surface than bright white. Some artists like a toned page because white highlights show up on it.
Orientation and page size are chosen when you create the notebook. Square is a popular sketchbook shape; landscape suits figure drawing in long poses.
Keep your physical work in the same notebook
If your class also works in charcoal, ink or paint on paper, photograph each finished piece and add it to a page in your sketchbook notebook. Write the date, the assignment and what you were working on underneath. By the end of the semester you have a record of all your work in one place, with notes beside it.
Photos of reference material work the same way. Add a reference photo to a page, move and resize it to one side, and draw your study next to it. More in adding photos to iPad notes.
Notes from demos and critiques
Drawing classes still have content to learn: terms like foreshortening, negative space and atmospheric perspective, plus instructor tips you'll want later. Keep a page for vocabulary at the back of your notebook.
Critiques are where the most useful feedback happens, and it's easy to forget once the discussion moves to the next student. During crit:
- Photograph your piece and add it to a page if it's on paper.
- Write each comment beside the part of the drawing it's about, with an arrow.
- End with two or three things to try in your next drawing.
If your instructor allows recording, Scribba links each stroke you write to that moment in the recording, so tapping a comment you wrote replays what was said. That works for demos too: sketch along, and tap your sketch later to hear the explanation. Ask first. See how to record a lecture on iPad.
Hand in your sketchbook
When it's time to submit, export the notebook or selected pages as a PDF, or share a single page as an image. If your sketchbook notebook has a photo cover, the library will show your own drawing on it, which makes it easy to spot among your other classes.
Frequently asked questions
Can Scribba replace a digital painting app?
No. Scribba is a notes app with pens for sketching and line drawing. It has no layers or blend modes. For digital painting, use a dedicated art app.
Which Scribba pen is best for sketching?
The pencil, with pressure sensitivity on, is closest to a graphite sketch. Use the brush for expressive, brushy lines and the fineliner for clean contours.
Can I use an iPad sketchbook for my drawing class?
Ask your instructor. Many drawing courses require a physical sketchbook or traditional media, and an iPad may count only as extra practice.