 Scribba
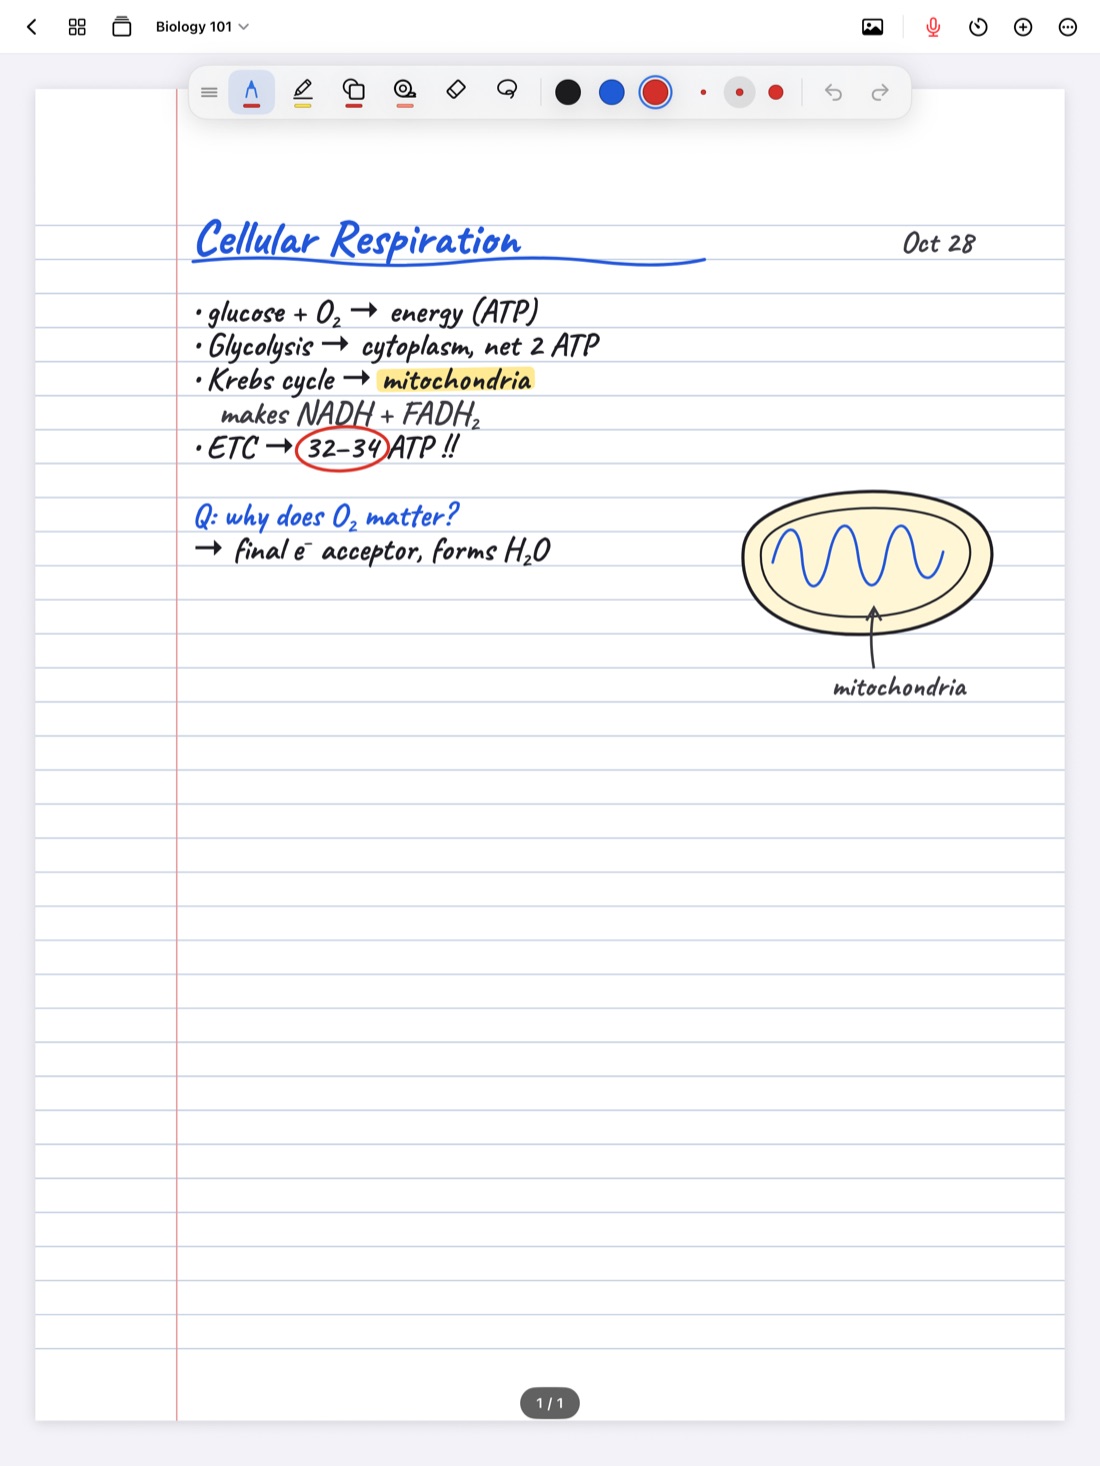
Some things take too long to copy by hand. The professor fills the whiteboard with a reaction mechanism two minutes before class ends. The textbook has a labeled diagram of the heart that would take ages to redraw. Your lab partner has the apparatus set up exactly right, and you want to remember it.
A photo on the page solves that, as long as it ends up next to the notes it belongs with and you do something with it afterward. This guide covers when a photo beats copying, how to take a useful one, the courtesy side of photographing in class, and how photos work on a Scribba page.
When to photograph, and when to copy
A photo is fast, but it isn't learning. Copying a diagram by hand forces you to look at every part of it, and that attention is part of how you remember it. So use photos on purpose:
- Photograph things that are reference material: a dense board at the end of class, a complicated figure, a lab setup, a map, a data table you'll look up but not memorize.
- Copy by hand the things you need to be able to reproduce on an exam: a cycle you'll be asked to draw, a diagram you'll need to label from memory.
- Do both for the most important figures. Take the photo so nothing is lost, then redraw a simplified version yourself after class.
If a whole handout or worksheet needs to go into your notes, scanning it as a full page is usually better than a photo on a page. That's covered in how to scan handouts into your iPad notes.
How to take a photo you'll actually use
- Shoot the board straight on. Stand or sit as square to it as you can. An angled shot makes small writing hard to read.
- Watch for glare. Whiteboards and glossy textbook pages reflect light. Shift a little to the side until the bright spot moves off the writing.
- Get close enough. A shot of the whole wall makes every word tiny. Take two photos of half the board each if you need to.
- Wait for the full picture. Many professors build a diagram over several minutes. Photograph it once it's complete, not halfway.
- Check it right away. Zoom in. If you can't read it now, you won't be able to later.
Ask first, and keep people out of the frame
Photographing in class comes with some etiquette, and sometimes with rules.
- Slides and course materials. Some professors are happy for you to photograph slides; others prefer you use the posted files, or don't want their materials copied at all. Check the syllabus or ask. If the slides are posted as a PDF, importing that is better anyway, because the text is searchable. See how to annotate lecture slides on iPad.
- People. Don't photograph classmates, guest speakers or patients without asking, and frame board shots so other students aren't in them. In clinical, lab and fieldwork settings, follow the site's rules about photos, which are often strict.
- School policies vary, so when in doubt, ask your professor.
Adding photos in Scribba
In Scribba, you can add a photo to a page straight from the camera or from your photo library. It sits on the page with your handwriting, so a photo of the board can go right under the notes you wrote during that part of the lecture.
Once a photo is on the page, you can:
- Move it next to the notes it belongs with.
- Resize it, smaller as a reference thumbnail or larger when the detail matters.
- Duplicate it, so you can keep one copy clean and mark up the other.
If you'd rather a photo become its own full page, Scribba can also turn photos into pages.
Tip: take board photos with the iPad itself during class, and add them to the page before you leave the room. Photos left in your camera roll tend to stay there.
Make the photo work for you
A photo pasted in and never looked at again is just a backup. A few ways to turn it into study material:
- Write a summary beside it. Two or three handwritten lines on what the diagram shows, in your own words.
- Label what matters. Draw arrows from your notes to the key parts of the photo. Hold the Apple Pencil still at the end of a stroke to snap a clean arrow.
- Quiz yourself on the labels. Photograph a labeled textbook diagram, then drag Scribba's study tape over the labels. Name each part, then tap to peek. That's active recall, and it does much more for your memory than looking at the diagram again. See study tape on iPad.
- Redraw it from memory on the next page, then compare with the photo. The parts you missed are what to study.
Make photos easy to find
Scribba searches handwriting, typed text, PDF text and lecture transcripts. Words inside a photo aren't on that list, so give every photo a caption you wrote yourself:
- Write a short title above the photo, like "Board: SN2 mechanism, Oct 14." Your handwriting is searchable, so the title is too.
- Or add a text box from the + menu in the notebook's top bar, if you'd rather type it.
- Bookmark the page if it's one you'll come back to before an exam, so it appears in the notebook's table of contents.
For more on search, see how to search your handwritten notes on iPad.
Where your photos go
Photos you add to a notebook stay with that notebook on your iPad. If you turn on iCloud Sync in Settings › iCloud, photos sync with your notebooks to your private iCloud. Scribba doesn't need an account and collects no data. If a notebook holds photos you'd rather keep private, you can lock it with Face ID, Touch ID or a passcode. See lock notebooks with Face ID.
Frequently asked questions
Can I add a photo from my camera roll to my notes?
Yes. In Scribba, add a photo from your photo library or take a new one with the camera, then move and resize it on the page.
Can Scribba search the text in a photo?
No. Search covers handwriting, typed text, PDF text and lecture transcripts. Add a handwritten or typed caption to each photo so you can find it.
Is it OK to take pictures of lecture slides?
It depends on your professor and school. Some don't mind, others prefer you use posted files. Check the syllabus or ask, and keep classmates out of the frame.