 Scribba
Geology is a visual science that happens on two very different scales. In lab, you're holding a rock the size of your palm and deciding whether it scratches glass. In lecture, you're picturing layers of rock hundreds of meters thick, folded and broken over millions of years. Good geology notes work at both scales: tidy ID tables for the hand samples, and clear drawings for everything you can't hold.
Here's how to set up notes for an intro physical or historical geology course, plus the field trips that usually come with it.
Mineral ID: write a property table, not a description
Identifying minerals is a process of elimination. You test a set of properties, then narrow down the list. Your notes should mirror that process, so make a table with the same columns for every mineral:
- Luster: metallic or nonmetallic, and what kind (glassy, pearly, earthy).
- Hardness on the Mohs scale, and the test you used (fingernail, copper, glass, steel).
- Streak: the color of the powder, which is often more reliable than the color of the sample.
- Cleavage or fracture, and how many cleavage directions.
- Other tests, like fizzing in dilute acid, magnetism, or specific gravity.
- The giveaway: the one property that settles it quickly.
The last column is the one that saves you in a lab practical. Calcite fizzes in acid. Magnetite attracts a magnet. Halite breaks into cubes. Write the giveaway in a bright color so it stands out.
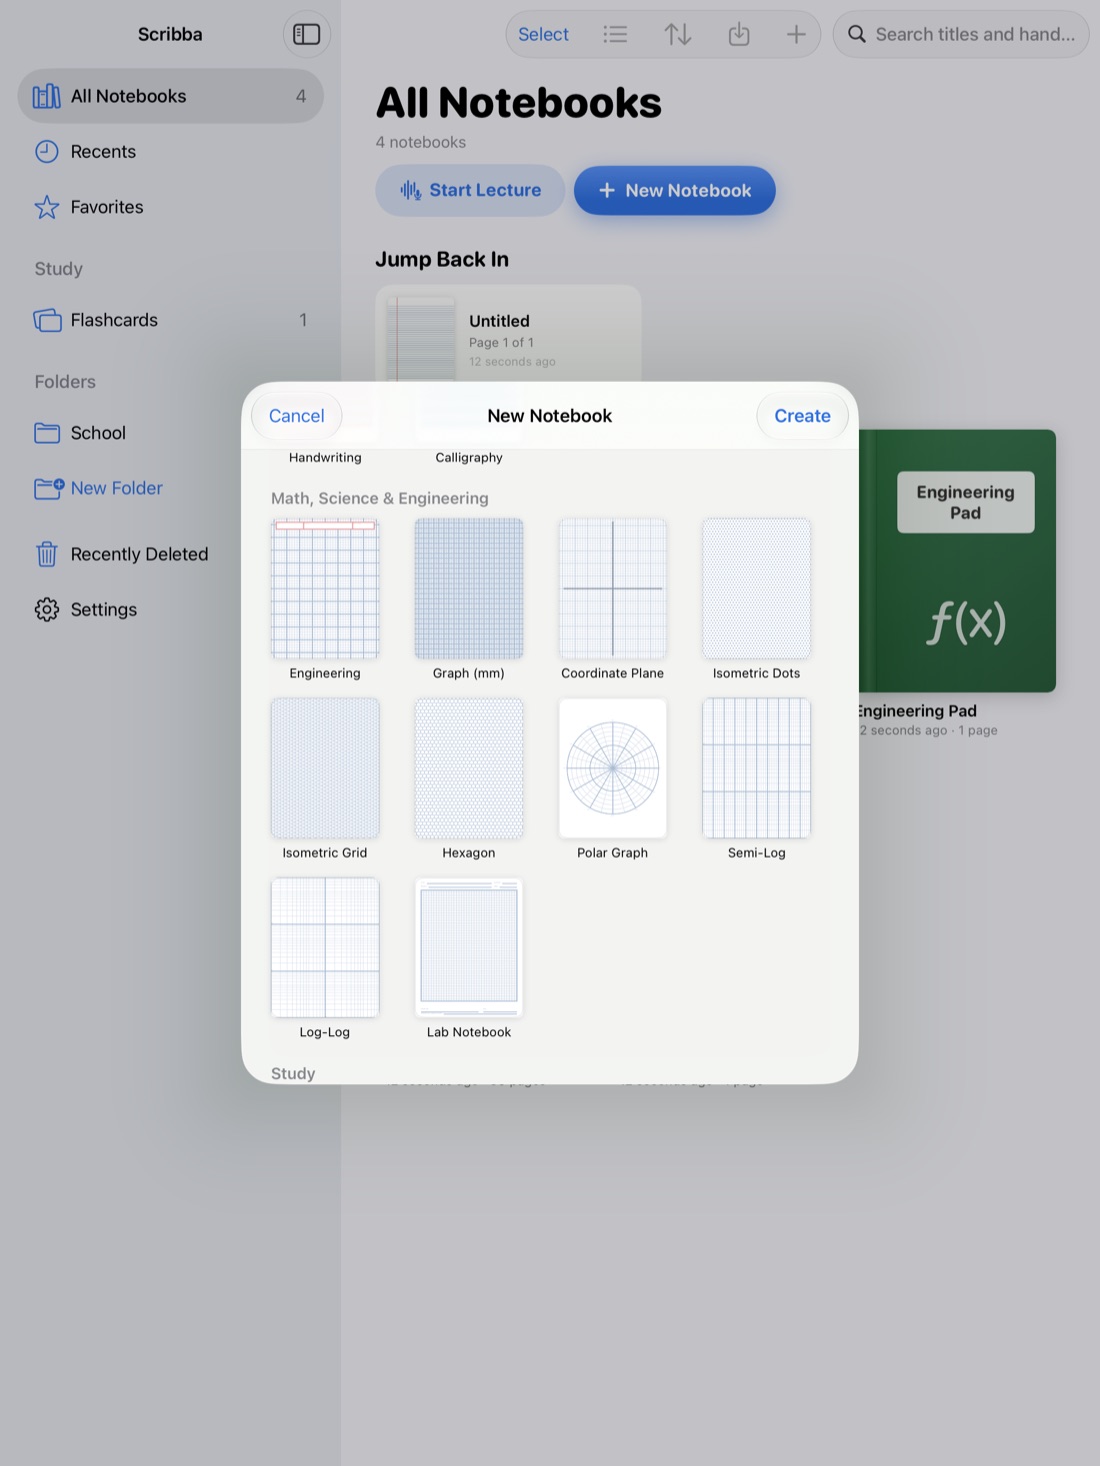
Grid paper keeps the columns lined up. Orientation is chosen when you create a notebook, so a landscape notebook just for ID tables gives you room for wide rows.
Tip: color is the least reliable property for most minerals, because small impurities change it. Write color in your table, but don't let it be the first thing you check.
Rock ID: start with how it formed
Rocks are easier when you sort them by origin first, then by texture and composition. Set up three sections in your notebook:
- Igneous: crystal size tells you how fast it cooled. Large crystals usually mean slow cooling underground; tiny crystals or glass mean fast cooling at the surface. Then judge composition, from light-colored felsic to dark mafic.
- Sedimentary: for clastic rocks, grain size names the rock, from shale through sandstone to conglomerate. Chemical and biological rocks, like limestone, form differently, so give them their own rows.
- Metamorphic: foliated or not. Foliated rocks show layering or alignment from pressure; nonfoliated rocks, like marble and quartzite, don't.
A simple flowchart for each group, with questions at each step ("Visible crystals? Yes / No"), is easier to use under exam pressure than a paragraph. In Scribba, hold the Apple Pencil still at the end of a stroke and it snaps into a rectangle or arrow, which keeps flowcharts neat.
Quiz yourself on photos of samples
Lab practicals usually mean a tray of numbered samples and a few minutes at each station. The best practice is handling real samples during open lab hours. Between those sessions, photos help.
Take a photo of each sample in your lab kit and add it to a page. Write the name and the giveaway property next to it. Then, in Scribba, drag study tape over the names. Look at the photo, name the rock or mineral and the property you'd test, then tap the tape to peek. See study tape on iPad and our guide to studying for a lab practical.
For terms like the minerals of the Mohs scale or the textures of igneous rocks, Scribba's Vocabulary paper turns each handwritten TERM and DEFINITION / EXAMPLE row into a flashcard, with no Apple Intelligence needed. Decks use spaced repetition, coming back after 1, 3, 7, 14 and 30 days.
Cross sections: read the story in order
A geologic cross section is a slice through the ground showing layers, folds, faults and intrusions. Exams love to give you one and ask for the order of events. You solve it with a few principles of relative dating:
- Superposition: in undisturbed layers, older rocks are at the bottom.
- Original horizontality: sedimentary layers start out flat, so tilted or folded layers were deformed later.
- Cross-cutting relationships: a fault or intrusion is younger than the rocks it cuts.
- Inclusions: pieces of one rock inside another are older than the rock that holds them.
- Unconformities: gaps where rock was eroded or never deposited.
When you copy a cross section in your notes, number the events right on the drawing as you work out the order, then write the sequence as a list beside it. Practice on every cross section your professor shows, and redraw a few from memory before the exam.
Topographic profiles
Many courses ask you to draw a topographic profile: a side view of the land along a line on a topographic map. Lay out the horizontal distance and elevation on Graph (mm) paper, which is bolder every 5 mm and every centimeter. Mark where each contour line crosses your line, plot the elevations and connect the points. Write down your vertical exaggeration, since steep-looking profiles are often stretched on purpose.
Block diagrams on isometric paper
Folds and faults are three-dimensional, and a flat cross section only shows one face. Block diagrams show the top and two sides of a chunk of crust at once, which makes it much easier to see a plunging fold or the movement on a fault.
Isometric Grid or Isometric Dots paper gives you guide lines at the right angles for drawing a block. Draw the box, then carry each layer around the corners so it lines up on every face. See isometric paper on iPad for more on drawing in 3D.
Field notes
Geology field trips are where your notes matter most, because you may never stand at that outcrop again. At each stop, record:
- Location and date, with a stop number.
- A sketch of the outcrop with a scale and the direction you were facing. Sketch what you see, not what you expect to see.
- Rock types and contacts between them.
- Measurements, like strike and dip, written in the format your course uses.
- Interpretation, kept separate. Write what you observed first, then what you think it means.
Photos are useful, but always include something for scale, like a hammer or a pencil. In Scribba, you can add a photo from the camera straight onto the page and label it. If your instructor talks through a site and you've asked first, you can record it; the recording keeps going when the iPad locks. See how to record a lecture on iPad.
Frequently asked questions
What's the best paper for geology notes?
Grid paper for ID tables, Graph (mm) for topographic profiles, Isometric for block diagrams, and ruled or Dot Grid for lectures. You can change the paper of any page from the page sidebar.
How do I memorize the geologic time scale?
Learn the eons and eras first, then the periods, and write a mnemonic for the order. Turn each unit and its key events into flashcards and review them on a schedule.
Can I use my iPad on a geology field trip?
Usually, yes, though check with your instructor. Your notebooks are stored on the iPad, so you can write and add photos at the outcrop. Protect it from dust and rain.