 Scribba
Three weeks after a lab, you sit down to write the report and find a line that says "2.4, looked fine." Two point four what? Which sample? Fine compared to what? A lab notebook exists so that never happens. It's a record of what you actually did, written while you did it, clear enough that someone else could repeat the work from it.
This guide covers the habits that make a lab notebook trustworthy, then how to keep one on iPad with lab notebook paper.
First, check that a digital notebook is allowed
Many lab courses and research labs require a bound paper notebook with numbered pages, because pages can't be quietly removed or rewritten. Others accept a digital notebook, and some prefer one. Check your syllabus or lab manual, or ask your instructor or PI, before you rely on an iPad. If the rules say bound paper, use bound paper. Everything below about good habits still applies.
What to record
A good entry answers one question: could someone repeat this from my notes alone? Aim to record:
- A title and purpose. One or two lines on what the experiment is and what you're trying to find out.
- The date, at the top of every entry and on every page you continue onto.
- The procedure, or a reference to the lab manual section you followed, plus every change you made to it. The changes matter most.
- Materials and settings. Concentrations, amounts, sample labels, instrument settings, temperatures. If a reagent came from a specific bottle or batch, write down which.
- Raw data, with units. Write numbers as you read them, before any rounding or converting.
- Observations. Color changes, bubbles, smells, anything unexpected. A note like "solution turned cloudy at minute 4" often explains a strange result later.
- Calculations, shown step by step, so a mistake can be found.
- Problems and failed runs. A run that didn't work is still data.
- A short conclusion and next steps. What you found, what you'd change, what to try next.
Date, number and sign every page
Each page should stand on its own. Write the date and page number on every page, and continue the title or project name when an experiment runs onto a new one. If your lab asks for signatures, sign and date the bottom of each page when it's finished. In research settings, a second person sometimes signs as a witness to confirm they read and understood the work. Follow whatever your lab requires.
Never erase data
This is the rule that separates a lab notebook from regular notes. If you wrote down a wrong number, don't erase it. Draw a single line through it so it's still readable, write the correct value next to it, and add a short reason if it isn't obvious ("misread pipette"). Your initials next to the correction help too.
The same goes for whole runs. Don't skip a result because it looks wrong. Record it, note what you think happened, and move on. Erased data makes a notebook impossible to trust, even when the change was honest.
Write during the lab, not after
Notes written from memory that evening are a reconstruction, not a record. Keep the notebook open at the bench and write as you go, even if it's messy. Neatness is optional. Completeness isn't. If you need to tidy up, add a clearly dated note afterward instead of rewriting the original.
Lab notebook paper in Scribba
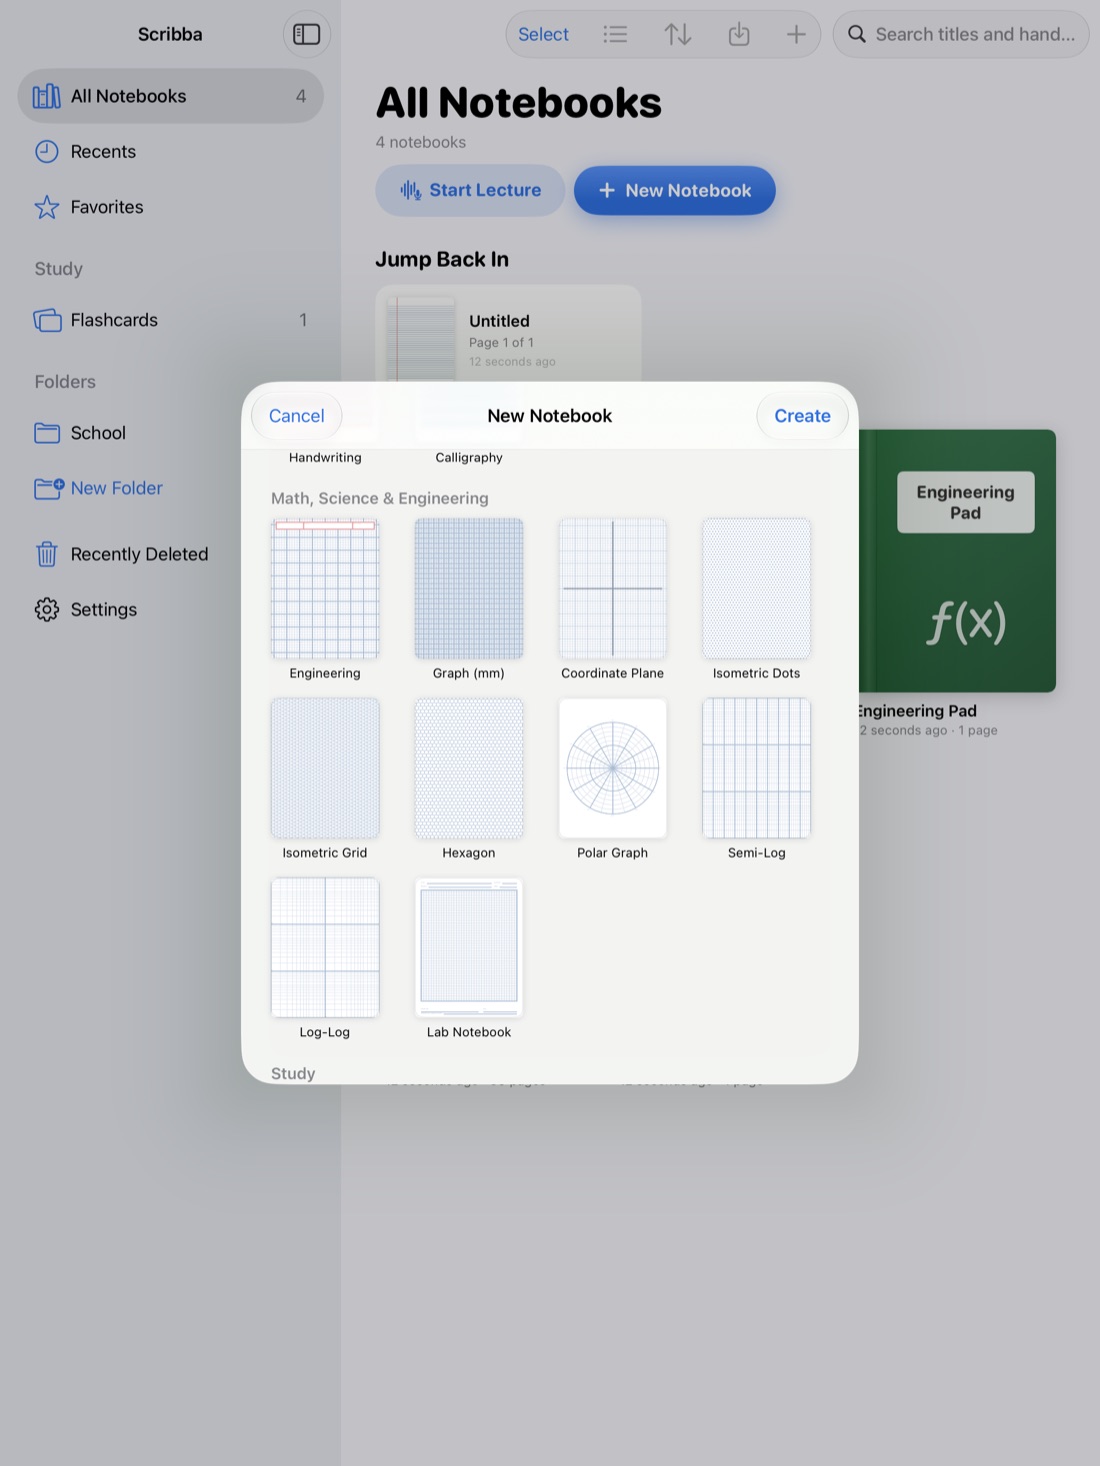
Scribba's Lab Notebook paper is in the Math, Science & Engineering section of the paper picker. It has TITLE, BOOK NO., PROJECT and PAGE fields at the top, a grid for the body of the page, and SIGNATURE, DATE and WITNESSED & UNDERSTOOD BY fields at the bottom. The fields are blank, so you write in each one yourself, page by page, the way you would in a paper lab book. The grid makes it easy to draw data tables and keep columns of numbers lined up.
To set it up, make a notebook just for the lab and choose Lab Notebook paper. If you already have a class notebook, you can change any page to Lab Notebook from the page sidebar instead. Pull past the last page to add a new one.
A few habits that keep a digital lab notebook honest:
- Strike through, don't erase. Use a pen stroke through the mistake rather than the eraser, exactly as you would on paper. It helps to switch off scribble to erase in Settings, so a quick zigzag over a number stays on the page.
- Add photos of your setup and results. Add a camera photo of a gel, a plate or your apparatus to the page, and write your observations beside it.
- Draw tables with the ruler or shapes. Hold the Pencil still at the end of a stroke to snap a straight line or rectangle. See how to draw straight lines and shapes.
- Use the Zoom Window for small numbers. Write big in the magnified strip and it lands small and neat, which helps with subscripts and long decimals.
- Bookmark each experiment in the page sidebar, so the notebook's table of contents lists every one.
When you need to turn pages in, export the notebook or the selected pages as a PDF. More in export iPad notes as PDF.
Tip: a lab notebook is the one notebook you can't afford to lose. Turn on iCloud Sync in Settings › iCloud, or set up Auto Backup in Settings › Backups. Back up your iPad notes explains both.
One honest limit: on an iPad, ink can be erased or moved with the lasso. That flexibility is great for class notes, and it's exactly why some labs insist on bound paper. On a digital notebook, the never-erase rule depends on you.
Frequently asked questions
Can I use an iPad instead of a bound lab notebook?
It depends on your course or lab. Some require a bound paper notebook and some accept digital ones. Check your syllabus or ask your instructor before you switch.
How do I fix a mistake in a lab notebook?
Draw one line through it so it stays readable, write the correct value beside it, and note why if it isn't obvious. Don't erase it.
Can I add photos of my results?
Yes. In Scribba you can add photos from the camera or your photo library to any page, then move and resize them and write next to them.
How do I submit my lab notebook pages?
Export the notebook or the pages you select as a PDF, then turn it in however your course collects work.