 Scribba
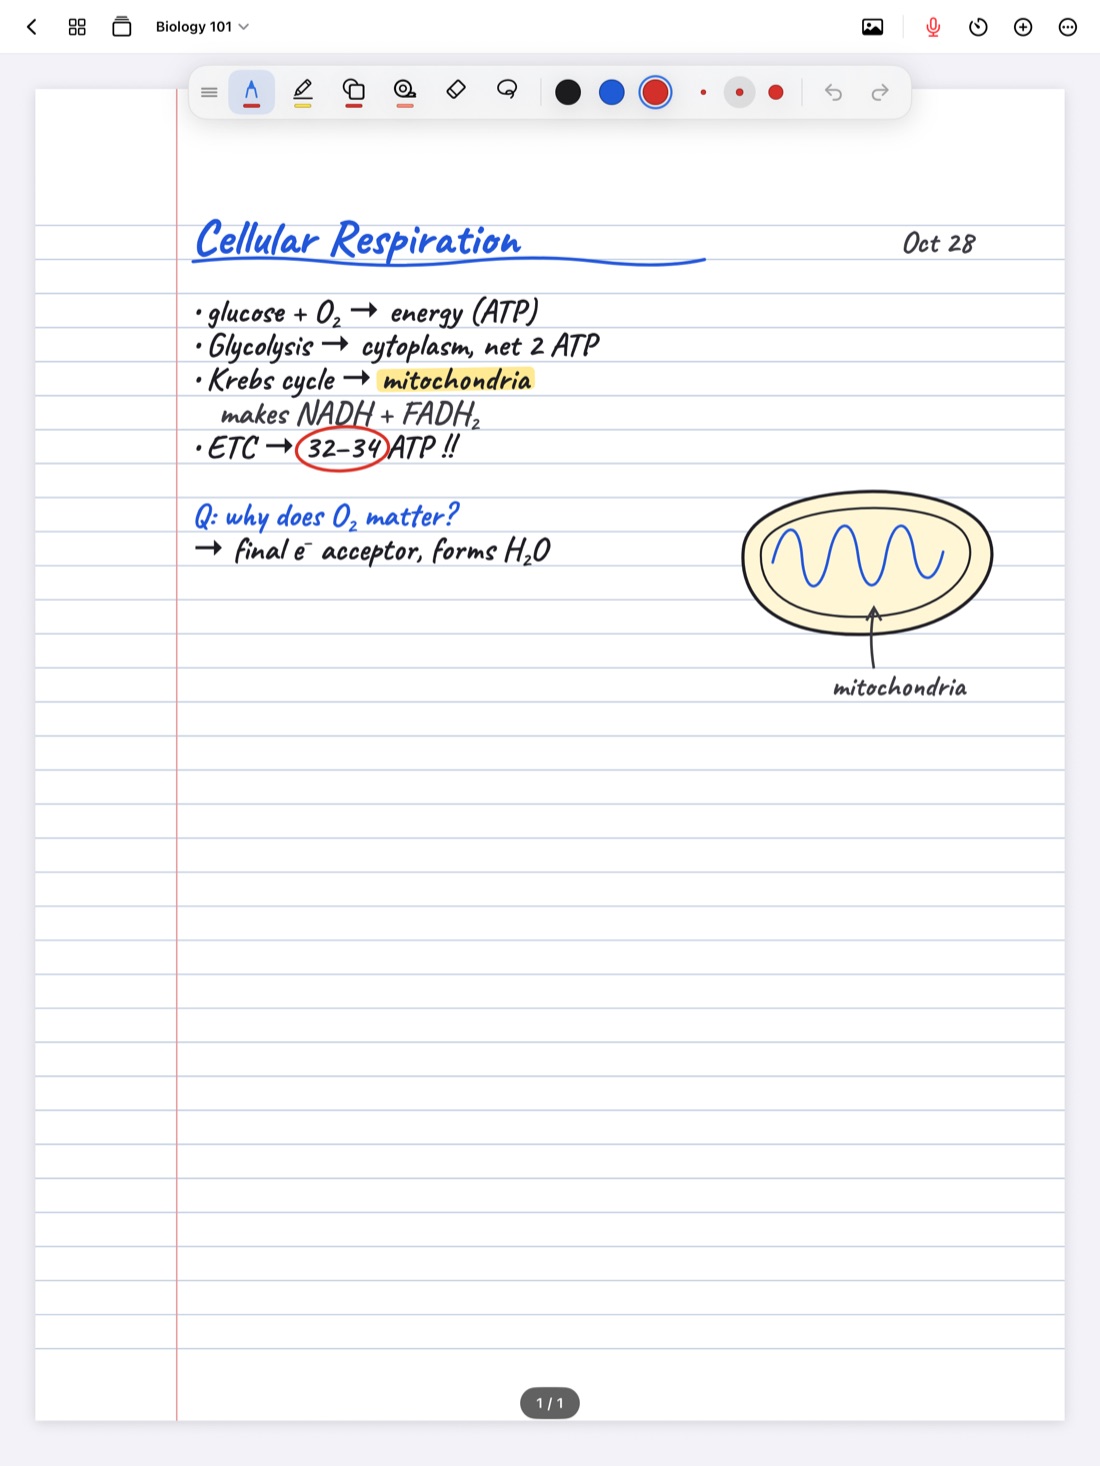
Some of the most useful notes you'll take aren't sentences. A flowchart of a process, a concept map, a timeline, a free-body diagram: one drawing can hold what would take a paragraph to explain. The problem is drawing them quickly. Freehand boxes come out lopsided, arrows wander, and a diagram drawn in a hurry is hard to read a week later.
The fix is to let the iPad straighten your strokes. This guide covers how snapping works in Scribba, which shapes to use for what, and how to lay out a diagram so it still makes sense when you study from it.
Hold to snap
In Scribba, draw a shape roughly in one stroke, then keep the Apple Pencil on the glass and hold it still at the end. The stroke snaps into a clean version of what you drew:
- a straight line
- an arrow
- a circle or an ellipse
- a triangle
- a rectangle
- a polygon
If you don't hold, the stroke stays as you drew it. That's what makes this fast in class: you write normally, and pause only on the strokes you want cleaned up. Underlines, timeline axes and dividers between topics become straight with a brief pause.
Tip: draw the rough shape at the size you want. Snapping tidies the shape, so a quick, confident stroke works better than a slow, careful one.
The Shape tool for diagram-heavy pages
When you're drawing a whole diagram, pausing on every stroke adds up. Switch to the Shape tool instead, and every stroke snaps. That's the better choice for flowcharts, concept maps, circuit outlines and anything else made mostly of boxes and arrows.
Because every stroke snaps with the Shape tool, switch back to a pen to write labels. A good rhythm is to draw the frame of the diagram with the Shape tool, then switch to your pen and fill in the words. With a keyboard, ⌘1 to ⌘6 switch tools without reaching for the palette.
If something snaps into the wrong shape, two-finger tap to undo and draw it again.
The ruler for exact lines
Snapping makes a line straight, but you choose where it starts and ends. When you need a line in an exact place, like a long axis or a line that has to pass through two points, use the ruler. Open it from the + menu in the notebook's top bar. More in our guide to the ruler on iPad notes.
What snapping won't do
Snapping is for straight lines and basic shapes. It doesn't smooth curves. Cost curves, indifference curves, sine waves, the outline of a cell: draw those freehand. Dot grid or graph paper helps you keep them smooth and in proportion.
Choose shapes that carry meaning
A diagram is easier to read when each shape means one thing. You don't need a formal system, just a consistent one:
- Rectangles for steps or things. Stages of a process, functions in a program, events on a timeline.
- Circles for concepts or states. The ideas in a concept map, nodes in a graph, states in a cycle.
- Arrows for "leads to". Cause and effect, the order of steps, the flow of energy or data.
- Triangles for warnings or exceptions. A small one next to a step that has a catch.
Give arrows one meaning each on a page, and label any arrow that could be read more than one way. "Inhibits" and "produces" look the same as plain arrows, but they mean opposite things on an exam.
How to build a diagram in class
Professors often draw diagrams one piece at a time while they talk. These habits help you keep up:
- Leave more space than you think. Start the diagram with room on every side, because there's always one more box.
- Draw the frame first. Snap the main boxes and arrows, even if they're empty.
- Label as the professor explains. Write short labels inside or beside each shape.
- Box words after you write them. In a fast lecture, it's often quicker to write a term and then draw a rectangle around it than to draw the box first and fit the word in.
- Use color sparingly. One extra color for the path or step the professor emphasizes is enough.
If the diagram outgrows its space, select it with the lasso and move it to open up room. See the lasso tool on iPad.
Diagrams by subject
The same tools cover very different classes:
- Biology: cycles and pathways with circles and arrows, cell structures with snapped ellipses. More in biology notes on iPad.
- Computer science: rectangles for stack frames and nodes, arrows for pointers, circles for trees and graphs. See computer science notes on iPad.
- Physics and engineering: force arrows, beams, supports and block diagrams.
- History: a straight timeline with short tick marks, plus boxes for causes and effects.
- Economics: snapped axes and straight supply and demand lines in intro courses.
Pick paper that helps
Paper does a lot of the work. Dot Grid gives you guide points for spacing boxes without visible lines in the way. Grid and Graph (mm) help with scale and evenly spaced axes. Isometric papers make 3D sketches easier, with the grid to guide each edge. In Scribba, you can change the paper for a page from the page sidebar, so a page of lecture notes can sit next to a page of graph paper for the diagram.
Frequently asked questions
Can I snap shapes with my finger?
Yes, with the Shape tool. Turn on Settings › Draw with Finger, switch to the Shape tool, and every stroke snaps, which makes finger diagrams much neater.
Does Scribba snap curves?
No. Snapping makes straight lines, arrows and basic shapes. Draw curves freehand; a grid helps keep them smooth.
How do I draw a straight line without snapping every stroke?
Use hold to snap with your normal pen. Only the strokes you hold at the end turn straight, so your writing stays as it is.