 Scribba
Most class presentations go wrong in one of two ways. Either the speaker reads a script off the page and never looks up, or they have nothing written down and lose the thread halfway through slide four. The fix sits in between: short speaker notes that remind you what to say, and enough rehearsal that you don't need much more.
This guide covers how to plan a class presentation, write speaker notes that actually help, and rehearse it, with handwritten notes on an iPad.
Start with one sentence
Before you open any slide software, write down the one thing you want your audience to remember. Not the topic, the point. "Our survey found that commuter students use the library less, mostly because of parking" is a point. "Library use" is a topic.
Every slide should help prove or explain that sentence. If one doesn't, cut it.
Plan the slides on paper first
Sketch the presentation before you build it. Draw a small box for each slide and write a few words in it: the slide's main idea and what's on it, like a chart, a photo or three bullet points. Under each box, jot what you'll say.
Planning this way keeps you from building slides you don't need. It's also easier to see the flow: does each slide lead to the next, and does the order build toward your main point?
Then check the plan against your time limit. Fewer slides that you explain well beat a long deck you have to rush through, and running over time is one of the easiest ways to lose points.
Write cues, not a script
Speaker notes are reminders, not a text to read. A good set of notes for each slide includes:
- Three to five keywords for what you'll say, in the order you'll say them.
- Any number, name or date you must get exactly right.
- The transition to the next slide, in a few words. Transitions are where speakers most often freeze.
Write out only two things in full: your first two sentences and your last two. Openings are when nerves are worst, and closings are what people remember. Knowing exactly how you'll start and finish gives you solid ground at both ends.
Tip: write your notes big. You'll be glancing at them from a step or two away, often while standing, so a few large words beat a paragraph of small ones.
Rehearse out loud, and time it
Reading your notes in your head isn't rehearsal. Say the whole thing out loud, standing up, with a timer running. You'll find the sentences that sound fine in writing and awkward in speech, the slides that take twice as long as you planned, and the transitions you haven't figured out yet.
Rehearse at least three times:
- First run: with your notes, stopping to fix things as you go.
- Second run: straight through without stopping, timed.
- Third run: glancing at notes as little as you can.
Recording yourself helps a lot. It's uncomfortable to listen to, but you'll hear filler words, rushed sections and places where you trail off.
Prepare for questions
Write down the three or four questions you'd ask if you were in the audience, and a short answer to each. Include the hard one, the question about the weakest part of your argument. If you've already thought it through, it won't rattle you.
Group presentations
Split the slides by section, and have each person write their own notes for their part. Agree on the transitions between speakers, since the handoff is where group presentations tend to stall. Rehearse together at least once, with the whole group, in order.
Preparing a presentation in Scribba
Scribba is an iPad notes app for class. Here's how it helps with each step.
Plan slides on Storyboard paper. The Storyboard template has numbered SCENE frames with lines under each, two across in portrait or three across in landscape. Treat each frame as a slide: sketch the slide in the frame and write what you'll say on the lines below. Orientation is chosen when you create the notebook, so make a landscape notebook if you want three frames across. See storyboard paper on iPad.
Write notes on your slides. Once your slides exist, export them as a PDF from your slide software and import the PDF into Scribba. Write your cues right on each slide or in the margin, and pull past the last page to add blank paper for your Q&A answers. Our guide to annotating lecture slides on iPad covers working with PDFs.
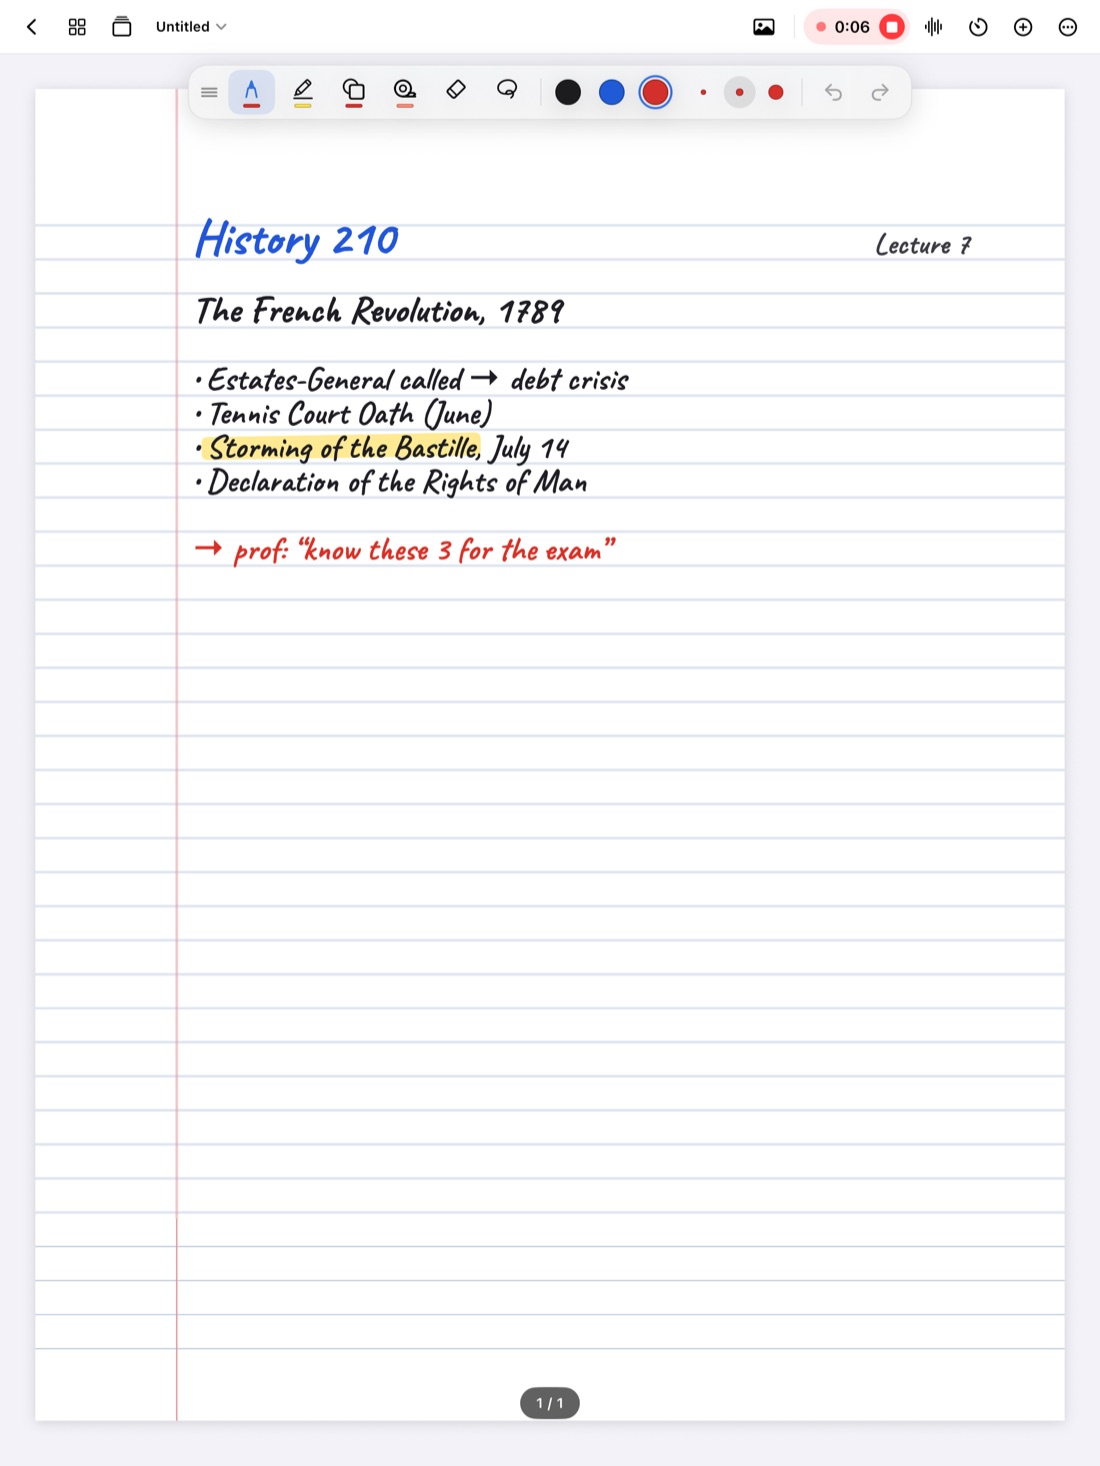
Rehearse with a recording. Tap the mic and run through your talk. While you rehearse, draw a quick mark next to any line where you stumbled. Afterwards, tap the mark and playback jumps to that moment. Scribba transcribes the recording too, so you can read back what you said and see where you rambled. More in how to record a lecture on iPad.
See the clock while you present. Scribba hides the iPad's status bar by default so notes get the whole screen. Turn on Settings › Screen › Show Time and Battery to keep the time visible while you speak.
Make notes easy to read at a glance. Double-tap the paper with a finger to fit the page to the screen's width, and keep each page of notes short. In a dim classroom, a dark paper like Charcoal or Black can be easier on the eyes; paper color changes per page from the page sidebar.
Share with your group. Scribba has no shared notebooks, but you can share a page as an image or export selected pages as a PDF, so everyone can see the plan.
Frequently asked questions
Should I memorize my presentation?
Memorize your opening and closing. For the rest, know your points well enough to say them in different words each time. Memorizing every word tends to sound stiff, and one forgotten line can throw you off.
Can I use my iPad as notes while I present?
Yes. Write large cues, keep the page fitted to the screen, and turn on the time display in Settings › Screen so you can watch the clock.
Is it OK to record a group rehearsal?
Ask your group first, since their voices will be on it. Recording yourself alone is simple.