 Scribba
A storyboard is a plan you can see. Before anyone picks up a camera or opens animation software, it shows what each shot looks like, what happens in it, and how one shot leads to the next. For a class project, it's also the document your professor or your crew will read to understand what you're making.
Storyboards don't need to be pretty. They need to be clear. This guide covers how to draw boards that communicate, how to annotate each frame, and how to set up storyboard paper on an iPad so revisions don't mean redrawing everything.
What a storyboard is for
A script tells you what happens. A storyboard tells you how the audience sees it. Every frame answers a few questions:
- What's in the shot? Who or what, and where they are.
- How big is it? A wide shot of a whole street feels different from a close-up of a hand.
- Where is the camera? High, low, eye level, over a shoulder.
- What moves? The subject, the camera, or both.
- What do we hear? Dialogue, sound effects, music cues.
If a frame answers those, it's doing its job, even if the people are stick figures.
Start with thumbnails, not finished frames
The most common mistake is drawing the first frame in detail and running out of time by the fifth. Work rough first.
- Break the script into shots. Read a scene and mark every place the camera would cut. Number them.
- Thumbnail the whole sequence. Draw tiny, fast sketches, a few seconds each. Boxes for buildings, ovals for heads, lines for eyelines.
- Read the sequence top to bottom. Does the action make sense without the script? Is there a shot you can cut?
- Only then clean up the frames that need it, like a tricky camera move or a shot your crew will need to set up precisely.
Thumbnails are cheap to throw away. That's the point.
Drawing frames that read clearly
You don't need to be good at drawing. You need a few conventions.
- Vary the shot size. A run of medium shots feels flat. Mix wide shots to show where we are, mediums for conversation, and close-ups for reactions and important objects.
- Show depth. Put something in the foreground, the subject in the middle, and a hint of background. Even a doorframe edge does it.
- Keep screen direction consistent. If a character exits frame right, they should usually enter the next shot from frame left. Breaking this confuses the viewer about where people are.
- Draw camera moves as arrows. A straight arrow across the frame for a pan, an arrow pointing into the frame for a push in, a second frame outline inside the first for a zoom.
- Draw subject movement as arrows too, in a different color so they don't get mixed up with camera moves.
- Silhouettes beat details. A clear shape of a person reaching for a door reads better than a detailed face.
What to write under each frame
The lines under a frame are where most of the information lives. Keep a consistent order so anyone can scan a page:
- Shot number and shot size (for example "WS," "MS," "CU").
- Action: one short line of what happens.
- Dialogue or sound: the line being spoken, or "SFX: door slam."
- Camera: the move, the lens feel, or the angle, if it's not obvious from the drawing.
- Duration, if your project has a strict running time.
For animation, add notes on timing and key poses. For a live-action shoot, add the location and any props, so the board doubles as a shot list.
Storyboard paper in Scribba
Scribba's Storyboard paper is one of its 39 paper types. It prints numbered SCENE frames with lines under each one for your notes. In a portrait notebook, the frames sit 2 across. In a landscape notebook, they sit 3 across, which suits most film work because you can read a sequence left to right like a strip.
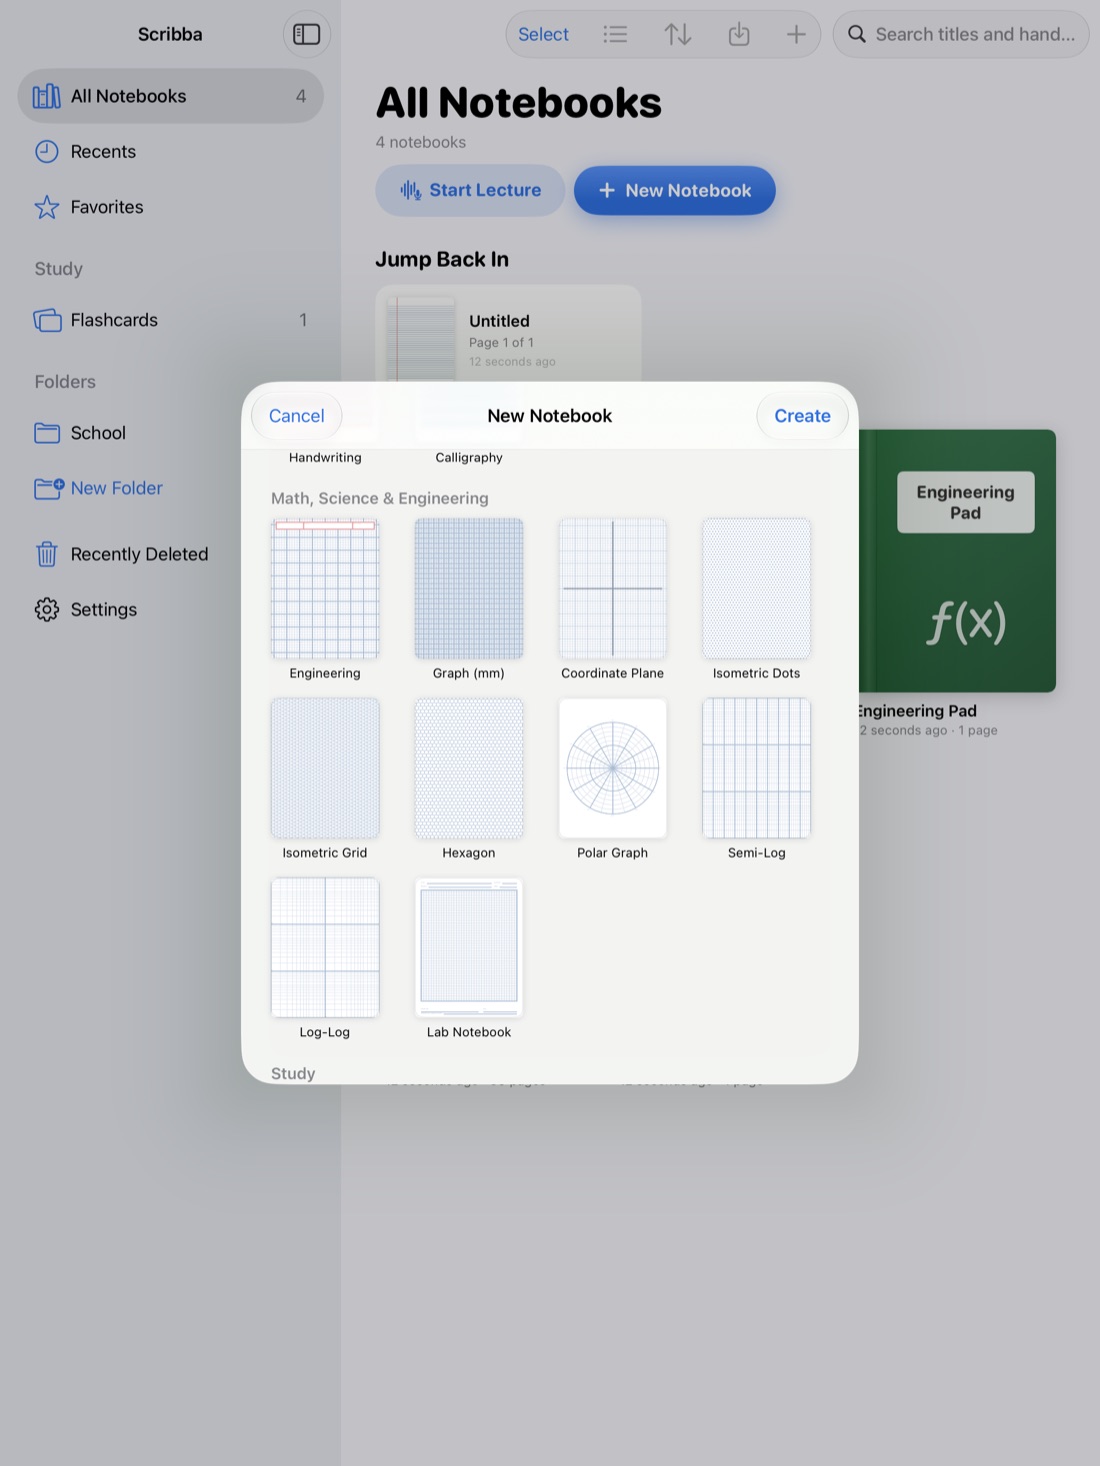
Orientation and page size are chosen when you create the notebook, in the New Notebook sheet, so decide before you start. Landscape is the usual pick. If you also want script pages, shot lists or ruled notes in the same project, you can change any page's paper from the page sidebar, so one notebook can hold the whole project.
A few Scribba tools fit storyboarding well:
- Pencil pen type for roughs. Of Scribba's six pen types, the pencil feels right for thumbnails. Switch to the fineliner for clean frames.
- Snapped shapes and arrows. Hold the Apple Pencil still at the end of a stroke and it snaps into a line, arrow, rectangle or ellipse. That's handy for camera move arrows and blocky set pieces. See how to draw straight lines and shapes.
- Saved colors. Keep one color for camera arrows and one for subject movement, saved in the palette so they're always one tap away.
- Zoom Window for the notes lines. Write big in a magnified strip, and it lands small and neat on the page, which helps when the lines under each frame are tight.
- Text boxes if your notes need to be easy for someone else to read. Add one from the + menu in the notebook's top bar.
Tip: write your own shot number in the notes lines even though the frames are printed with numbers. When you cut or add a shot later, your own shot numbers keep the list straight.
Revising without redrawing
Storyboards change. A professor asks for a different opening, or a location falls through. On paper, that means redrawing pages. On an iPad, you have better options:
- Duplicate a page before a big change. In the page sidebar, duplicate the page and revise the copy, so the old version is still there if you want it back.
- Reorder pages in the page sidebar when a sequence moves.
- Bookmark each sequence with a name like "Seq 3: the chase." The bookmarks become the notebook's table of contents. See bookmarks and a table of contents.
Sharing boards with your crew or class
Scribba has no shared notebooks, so to send a board to your group or turn it in, export it. Select pages in the page sidebar and export them as a PDF, or share a single page as an image. See how to export iPad notes as PDF.
If your team gives notes in a review meeting, you can record the meeting in Scribba and mark frames as people talk about them, then tap a mark later to hear that comment again. Ask everyone first before you record.
Frequently asked questions
Do I need to be good at drawing to storyboard?
No. Stick figures, boxes and arrows are fine as long as the shot size, camera position and action are clear. The notes under each frame carry a lot of the meaning.
Should storyboard frames be landscape?
For film and video, usually yes. In Scribba, a landscape notebook puts 3 Storyboard frames across a page, and a portrait notebook puts 2.
Can I animate my storyboard in Scribba?
No. Scribba is a notebook for drawing and writing. Use it to plan shots, then build an animatic or edit in your video or animation software.