 Scribba
Digital notes are easy to search and carry around, but sometimes you want them on paper. A study sheet you can spread out on a desk, a page to annotate with a real pen, notes for an open-book exam where devices aren't allowed, or a problem set you have to hand in. Printing from an iPad is simple once you know the path, and a few choices made early save you from tiny text, wide margins and empty ink cartridges.
Why print notes at all
- Open-book or open-note exams often allow paper but not devices.
- Handing in work that a professor wants on paper.
- Studying away from the screen, like on a commute, or as a break from the iPad at the end of a long day.
- Seeing everything at once. A few pages laid side by side can show the shape of a topic better than scrolling.
- Wall review. A formula sheet or timeline taped above your desk gets read every day.
The basic path: PDF, then print
On an iPad, printing almost always goes through a PDF and the share sheet:
- Export the pages you want as a PDF. Most note apps can export a whole notebook or just some pages.
- Open the share sheet for that PDF and choose Print.
- Pick a printer and options. Choose the number of copies and the page range. Other options, like black and white or double-sided printing, depend on your printer.
- Check the preview before you print. Make sure nothing is cut off and the text is a readable size.
iPads print to AirPrint printers on the same Wi-Fi network without any setup. If your printer isn't showing up, check that it's on the same network and supports AirPrint, or see the printer maker's instructions.
Tip: print one page first. It's the cheapest way to find out the margins are too wide or the ink is too light.
No printer? Save the PDF and print elsewhere
Most students don't have a printer in their room. Save the PDF to the Files app or iCloud Drive instead, then print it at the library, a campus print station or a print shop. Many campus printing systems let you upload a PDF from a browser or email it to a print queue, so check how yours works.
Pick a page size that fits printer paper
This is the step people find out about too late. Printer paper in the US is usually Letter; in most other countries it's A4. If your notes are a different shape, the printer has to scale them, which can leave wide blank margins or shrink your handwriting.
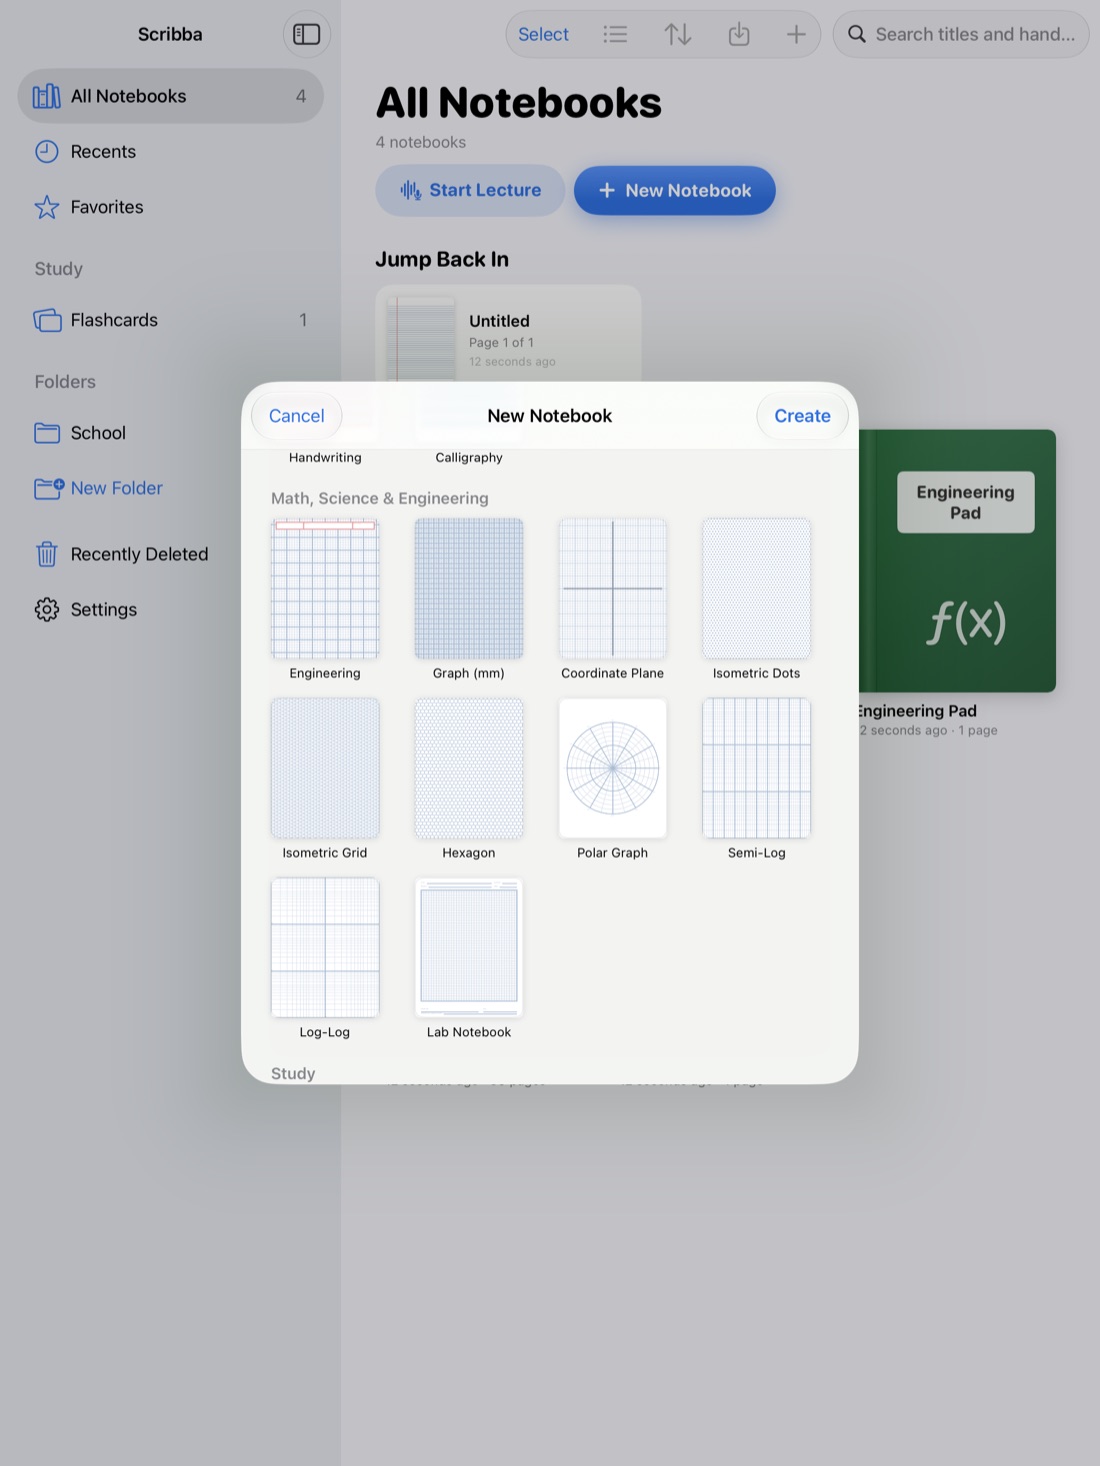
In Scribba, you choose the page size and orientation when you create a notebook. The six sizes are US Letter, A4, A5, iPad, Square and Widescreen, each in portrait or landscape.
- US Letter or A4: the best choice for anything you might print. Pages come out at full size.
- A5: half a sheet. It prints, but scaled up or with lots of white space, unless your printer can print two pages to a sheet.
- iPad, Square and Widescreen: great on screen, but their shape doesn't match a printed page, so expect margins.
If you know you'll print a class's notes, like a lab notebook or a formula sheet you'll bring to an exam, create that notebook in Letter or A4 from the start.
Watch out for dark paper
Dark paper is easy on the eyes at night. On a printer, it's a different story. A page on Scribba's Charcoal or Black paper prints a full sheet of dark ink, which uses a lot of ink, can make paper damp and wavy, and often leaves light ink colors looking faint.
A few ways to handle it:
- Write study sheets on light paper if you plan to print them. White or Ivory paper prints cleanly.
- Change the paper before exporting. You can change any page's paper from the page sidebar. But if you wrote in white or pale ink, that ink will be hard to see on white paper, so check the preview.
- Duplicate first. The page sidebar can duplicate a page, so you can keep your dark original and make a light copy for printing.
- Print in black and white if your printer offers it. It doesn't remove the background, but it saves color ink.
The gray E-Ink paper also prints its background, so check a test page if you use it. For more on dark paper, see how to study at night on iPad.
Printing from Scribba
Scribba gives you a few ways to get pages out:
- A whole notebook as PDF. Export any notebook as a PDF, then print from the share sheet.
- Selected pages as PDF. In the page sidebar, select just the pages you want and export them as a PDF. Useful for printing one lecture or a review sheet without the whole semester.
- One page as an image. Share a single page as an image from the page sidebar, handy for a quick print or for sending to a campus print queue that takes images.
Making printable study sheets
Some study materials are made to be printed:
- A one-page summary or cheat sheet. Write it on Letter or A4 paper, export that page, and print. How to make an exam cheat sheet covers what to put on it.
- Index Cards paper puts a page of card outlines on one sheet. Write a card in each, print, and cut them out for flashcards you can carry.
- A Study Guide. On iPads that support Apple Intelligence, with it turned on, Scribba can make one sheet with the key points of every lecture in a notebook and add it to the notebook as pages, which you can export and print like any other pages. See a study guide from your lecture notes.
Exporting a PDF is also a good backup habit, so it's worth doing at the end of each term anyway. See how to back up your iPad notes.
Frequently asked questions
Can I print without a plan or subscription?
In Scribba, yes. Without a plan, notes stay readable and exportable, so you can still export a PDF and print it.
Why is my printed handwriting so small?
Usually the page size doesn't match your printer paper, so it was scaled down. Use US Letter or A4 notebooks for notes you'll print, and check the print preview.
Do recordings or flashcards print?
Recordings don't, since they're audio. Flashcard decks export to Quizlet or Anki rather than to paper, but you can print cards you've written on Index Cards paper.