 Scribba
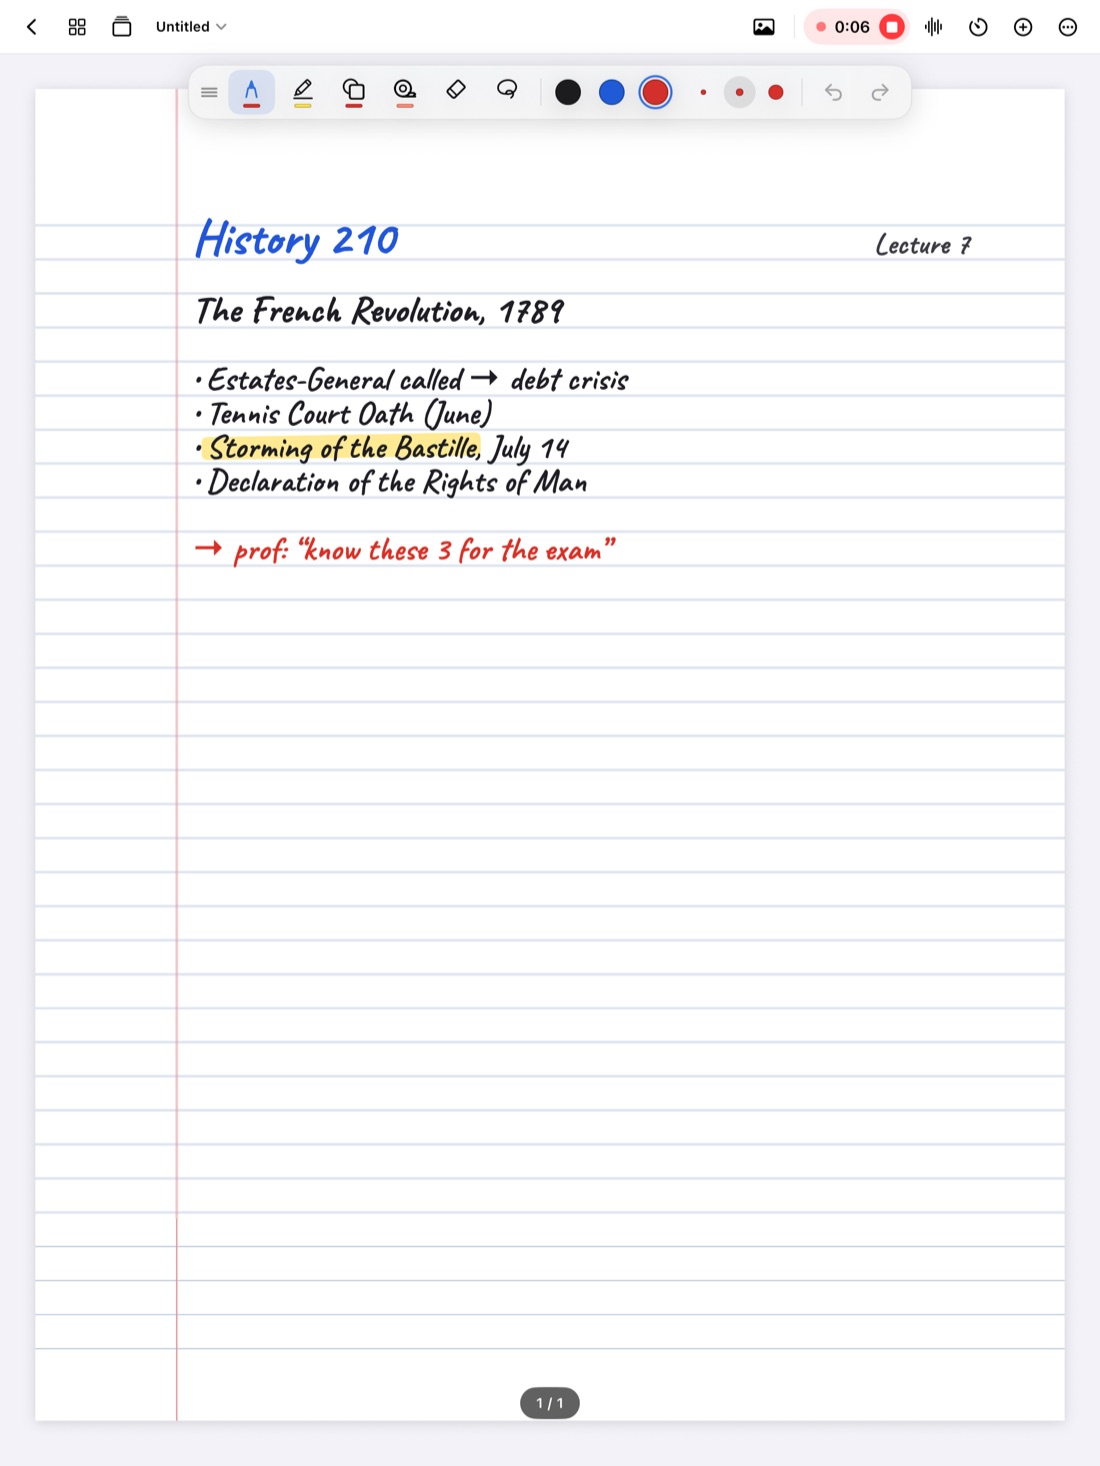
Sketchnotes look like art, which scares a lot of students off. They aren't. A sketchnote is a page of notes where some of the words are replaced or joined by simple drawings: a stick figure, a lightbulb, an arrow, a box. If you can draw a circle and a line, you can sketchnote.
The payoff is a page you remember. Pairing words with pictures, sometimes called dual coding, gives your memory two ways into the same idea. Our guide to the dual coding study method explains why that helps.
What a sketchnote is made of
Most sketchnotes use the same handful of building blocks:
- A title, written bigger or bolder than everything else.
- Key words, not sentences. The same short phrases you'd write in any good notes.
- Simple icons for ideas: a person, a lightbulb, a clock, a warning sign.
- Containers, like boxes, clouds or speech bubbles, that group related ideas.
- Connectors: arrows and lines that show cause, sequence or relationship.
- Emphasis: size, thickness and one accent color for what matters most.
The layout ties it together. Common ones are top to bottom like regular notes, a winding path that follows the lecture, columns, or radial, with the topic in the center.
When sketchnotes fit
Sketchnotes work best for talks with a few big ideas:
- Conceptual lectures in psychology, sociology, philosophy or history.
- Guest speakers and seminars, where the ideas matter more than every detail.
- Processes and cycles, which are clearer as a drawing than a list.
- Reading summaries, one page per chapter or article.
They're a poor fit for dense technical content: long derivations, problem sets, or a lecture packed with numbers and terms. And if drawing pulls your attention from listening, that's a sign to take regular notes in class and make a sketchnote summary afterward. Many students do exactly that.
Build a small visual vocabulary first
The hard part of sketchnoting live isn't drawing. It's deciding what to draw fast enough. So practice a set of simple icons before class, until you can draw each one in a few seconds:
- Person: a stick figure, or a circle on a rounded body.
- Idea: a lightbulb.
- Problem or danger: a lightning bolt or warning triangle.
- Time: a clock or an hourglass.
- Growth or decline: an arrow going up or down.
- Question: a big question mark.
- Key point: a star.
- Place: a map pin.
Add icons for your own subjects as you go: a beaker for chemistry, a coin for economics, a brain for psychology. Reuse the same ones every time, so they become shorthand.
A worked example
Say your Psychology class has a lecture on sleep. Here's a sketchnote in words, using a winding path from top to bottom:
- Title across the top in thick letters: "Why we sleep."
- First stop: a stick figure in bed under a moon, with a short note: "sleep cycles: light, deep, REM, repeating through the night."
- An arrow down to a brain icon: "memory: sleep helps store what you learned that day."
- An arrow to a lightning bolt: "too little sleep: worse attention, worse mood."
- A coffee cup with a clock beside it: "caffeine late in the day delays sleep."
- A star at the bottom with the takeaway: "study, then sleep, beats an all-nighter."
That page has only a few dozen words. But a week later, picturing the coffee cup brings back the point about caffeine, and the lightning bolt brings back what sleep loss does. If you want the study side of this lecture, see sleep and studying.
How to sketchnote a lecture
- Set up before class. Write the title, date and speaker. Decide on a layout so you know where the first idea goes.
- Listen before you draw. Wait for the speaker to make a point, then capture it. Drawing too early means redrawing.
- Words first, pictures second. Get the key words down. Add an icon if there's time. You can add more drawings later.
- Use containers and arrows for structure. They do the work headings and indents do in regular notes.
- Stick to one accent color, for the title and the most important ideas.
- Finish after class. Add icons you skipped, fill gaps, and write a one-line takeaway.
Common mistakes
- Trying to make it beautiful. A sketchnote is for you. Rough icons work fine.
- Drawing every noun. Draw the big ideas. Most words should stay words.
- Missing content while drawing. If you fall behind, write key words only and catch up after class.
- Too many colors. One or two accents are enough. A rainbow page is hard to scan.
- No structure. Icons scattered across a page with no arrows or containers are hard to read back.
Sketchnotes on iPad with Scribba
Pick pens for each job. Scribba has six pen types: ballpoint, fineliner, fountain, pencil, brush and crayon. A fineliner suits key words, the brush makes thick titles, and the crayon is good for quick shading. Double-tap the pen tool to open pen settings, where you can change thickness, pressure sensitivity and stabilization. Turning stabilization up smooths out shaky lines. More in pen types for iPad notes.
Snap shapes and arrows. Hold the Apple Pencil still at the end of a stroke and it snaps into a line, arrow, circle, ellipse, triangle, rectangle or polygon. That's most of a sketchnote's containers and connectors.
Keep your colors ready. Each tool keeps three saved colors, so set your pen to black, your accent color and a gray for shading.
Choose the page. Blank or Dot Grid paper suits sketchnotes, and Ivory paper gives a softer look. Make a landscape notebook if you like wide layouts; orientation and page size are chosen when you create a notebook.
Write small labels neatly. The Zoom Window lets you write big in a magnified strip, and it lands small on the page.
Let the recording catch the details. This is where an iPad beats paper for sketchnoting. If you record the lecture in Scribba, every stroke is linked to the moment you drew it. Tap the lightning bolt and you hear exactly what the professor said about sleep loss. So you can draw the big idea and still get the details back later. Ask before recording; how to record a lecture on iPad explains how.
When you're done, you can share a page as an image, which is handy for a study group.
Frequently asked questions
Do I need to be good at drawing to sketchnote?
No. Circles, boxes, arrows and stick figures cover almost everything. Clarity matters, not skill.
Should I sketchnote during class or after?
If the lecture is about a few big ideas and you're comfortable drawing quickly, sketchnote live. For fast or detailed lectures, take regular notes and make a sketchnote summary afterward.
Do I need an Apple Pencil?
It helps a lot for drawing, but it isn't required. In Scribba, turn on Settings › Draw with Finger to draw with your finger.