 Scribba
Kinesiology is the study of how the body moves, and a kinesiology degree pulls from several sciences at once. In one semester you might name every muscle that crosses the shoulder, calculate torque at the elbow, and measure a classmate's heart rate on a cycle ergometer. Each of those needs a different kind of note.
The common thread is movement. Good kinesiology notes always connect a structure to what it does: this muscle, from here to there, produces this motion, in this plane. Here's how to set up notes that make those links clear.
Learn the language of movement first
The first weeks of most kinesiology and functional anatomy courses are vocabulary: anatomical position, directional terms, planes and axes, and joint actions. Everything later is described in these words, so make them automatic early.
- Planes and axes. The sagittal plane splits left from right, the frontal plane splits front from back, and the transverse plane splits top from bottom. Each plane pairs with an axis of rotation.
- Joint actions in pairs. Flexion and extension, abduction and adduction, internal and external rotation, pronation and supination. Learning them as opposite pairs halves the work.
- Movement analysis. Exams often show a movement, like the down phase of a squat, and ask which joints move, in which plane, and which muscles are working.
A good way to learn the pairs is to draw them. Sketch a stick figure in anatomical position, then the same figure doing each action, with an arrow showing direction. Stick figures are fast, and they force you to decide which way the limb actually moves.
In Scribba, hold the Apple Pencil still at the end of a stroke and it snaps into a straight line, arrow, circle or ellipse. Stick-figure limbs, joint circles and motion arrows come out clean without slowing you down.
Build a muscle table, one row per muscle
Muscles are where kinesiology students spend the most study time. For each muscle you usually need four facts, often remembered as OIAI:
- Origin, the usually fixed attachment.
- Insertion, the usually moving attachment.
- Action, what the muscle does when it contracts.
- Innervation, the nerve that supplies it, if your course requires it.
Write these as a table, not a paragraph, grouped by region or by joint. Grouping by joint is especially useful, because it lets you see every muscle that flexes the hip, for example, in one place. That's how movement analysis questions are answered.
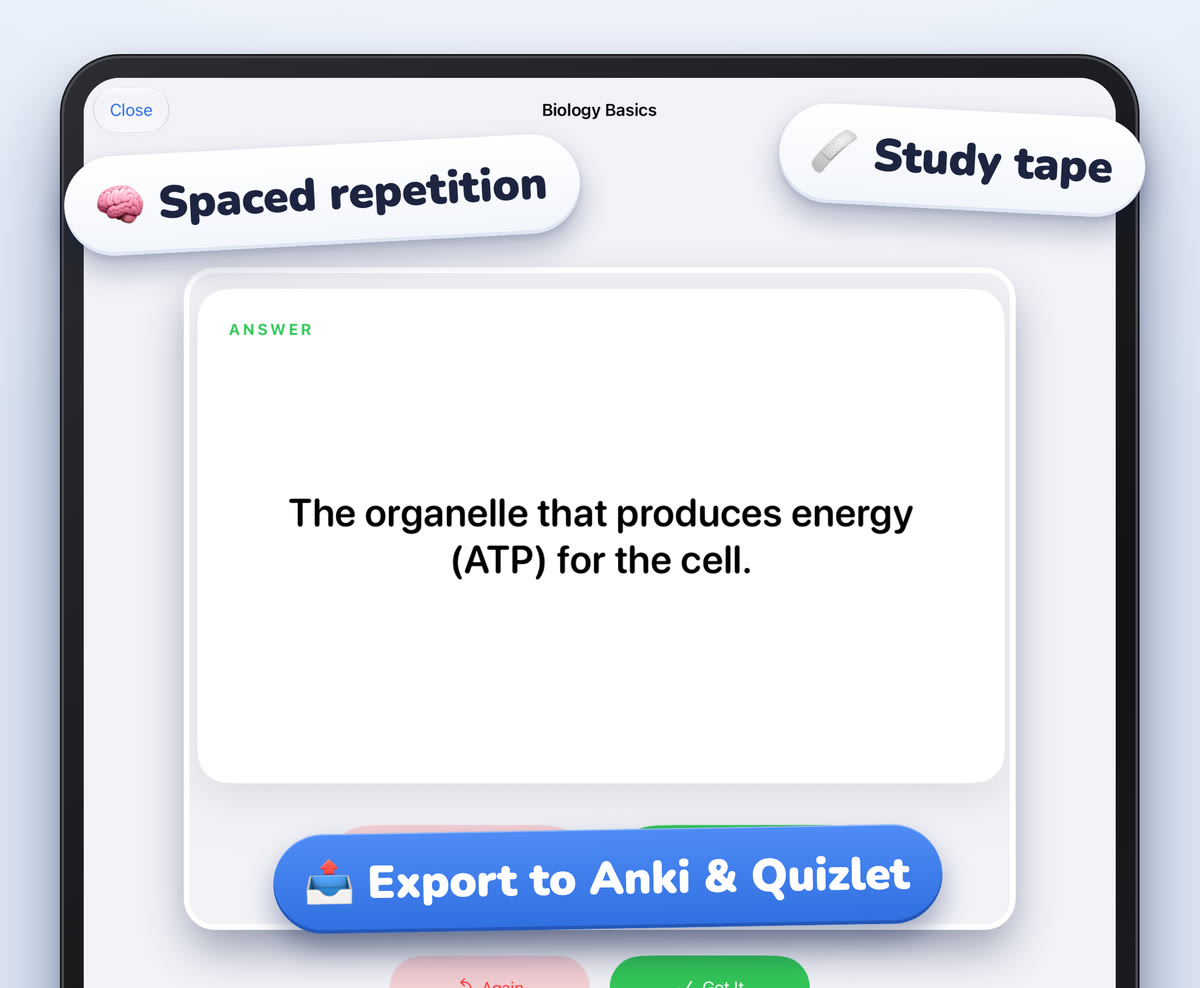
Scribba's Vocabulary paper has a two-column table: TERM and DEFINITION / EXAMPLE. Put the muscle in the TERM column and its origin, insertion and action in the definition column. When the page is full, Scribba reads your handwriting and turns each row into a flashcard. Review and fix any words it misread, then study the deck. This doesn't need Apple Intelligence. See flashcards from handwritten notes.
Flashcard decks use spaced repetition: cards come back after 1, 3, 7, 14 and 30 days. With dozens of muscles to learn, that steady schedule is far better than cramming a region the night before.
Tip: say the action out loud and do it while you study. Flexing your own elbow while recalling "biceps brachii, elbow flexion and forearm supination" ties the fact to a movement you can feel.
Label diagrams, then hide the labels
Origin and insertion are much easier to remember on a picture. Add a photo from your camera or photo library, like a figure from your lab manual or a model in the lab, and label it in your own handwriting with leader lines out to the side.
Then turn the diagram into a quiz. In Scribba, drag study tape over each label. Try to name the structure, then tap the tape to peek. This is the closest thing to a practical exam you can do at your desk. For the exam itself, see how to study for a lab practical. If your program has a full anatomy and physiology sequence, the anatomy and physiology notes guide goes deeper on body systems.
Biomechanics: draw before you calculate
Biomechanics is physics applied to the body: forces, torque, levers and motion. The problems look new, but the method is the same as a physics class.
- Sketch the segment. A forearm is a line; the elbow is a dot.
- Mark the axis, the effort and the resistance. That tells you the lever class. Most joints in the body work as third-class levers, with the muscle pulling between the joint and the load.
- Draw the moment arm. Torque depends on the perpendicular distance from the axis to the line of force, so draw that distance explicitly.
- Carry units through. Newtons times meters gives newton-meters.
The habits in physics notes on iPad carry straight over, including writing the principle you're using before you solve. In Scribba, open the ruler from the + menu in the notebook's top bar when you need a line at a precise angle.
Exercise physiology: think in systems and graphs
Exercise physiology asks how the body responds to activity. You'll study the energy systems (the phosphagen system, glycolysis and oxidative metabolism) and how heart rate, breathing and blood flow change with effort.
Two kinds of note help most here:
- A timeline diagram of the energy systems, showing which one leads from the first seconds of effort to long, steady work. Draw them as overlapping curves rather than separate boxes, since they all run at once.
- Graphs you sketch yourself. Heart rate against workload, oxygen uptake over time, lactate against intensity. Draw the axes, label them with units, and mark the important points, like a plateau or a threshold.
Graph (mm) paper makes these sketches neat, and it runs edge to edge. You can change the paper of any page from the page sidebar, so a graph page can sit right after your ruled lecture notes.
Labs: record data as you collect it
Kinesiology labs are hands-on. You might measure blood pressure, run a graded exercise test, or film a jump to analyze. The data comes fast, and the person being tested is often you.
Write down conditions and numbers while the test runs, not afterward: the date, the subject, the protocol, each stage and the reading at each stage. Lab Notebook paper has TITLE, BOOK NO., PROJECT and PAGE fields, a grid, and SIGNATURE / DATE / WITNESSED & UNDERSTOOD BY fields at the bottom. Check whether your course accepts a digital notebook first, and see keeping a lab notebook on iPad for the habits that make one reliable.
Frequently asked questions
What's the fastest way to learn muscles for kinesiology?
Group them by joint, write origin, insertion and action in a table, and review with spaced repetition. Quiz yourself on labeled diagrams too, since practicals test recognition.
Can Scribba make flashcards from my muscle tables?
Yes, if you write them on Vocabulary paper. Scribba reads each handwritten row and turns it into a card, without needing Apple Intelligence.
What paper should I use for exercise physiology graphs?
Graph (mm) paper works well for plotting lab data. The Coordinate Plane paper is handy for quick sketches with labeled axes.