 Scribba
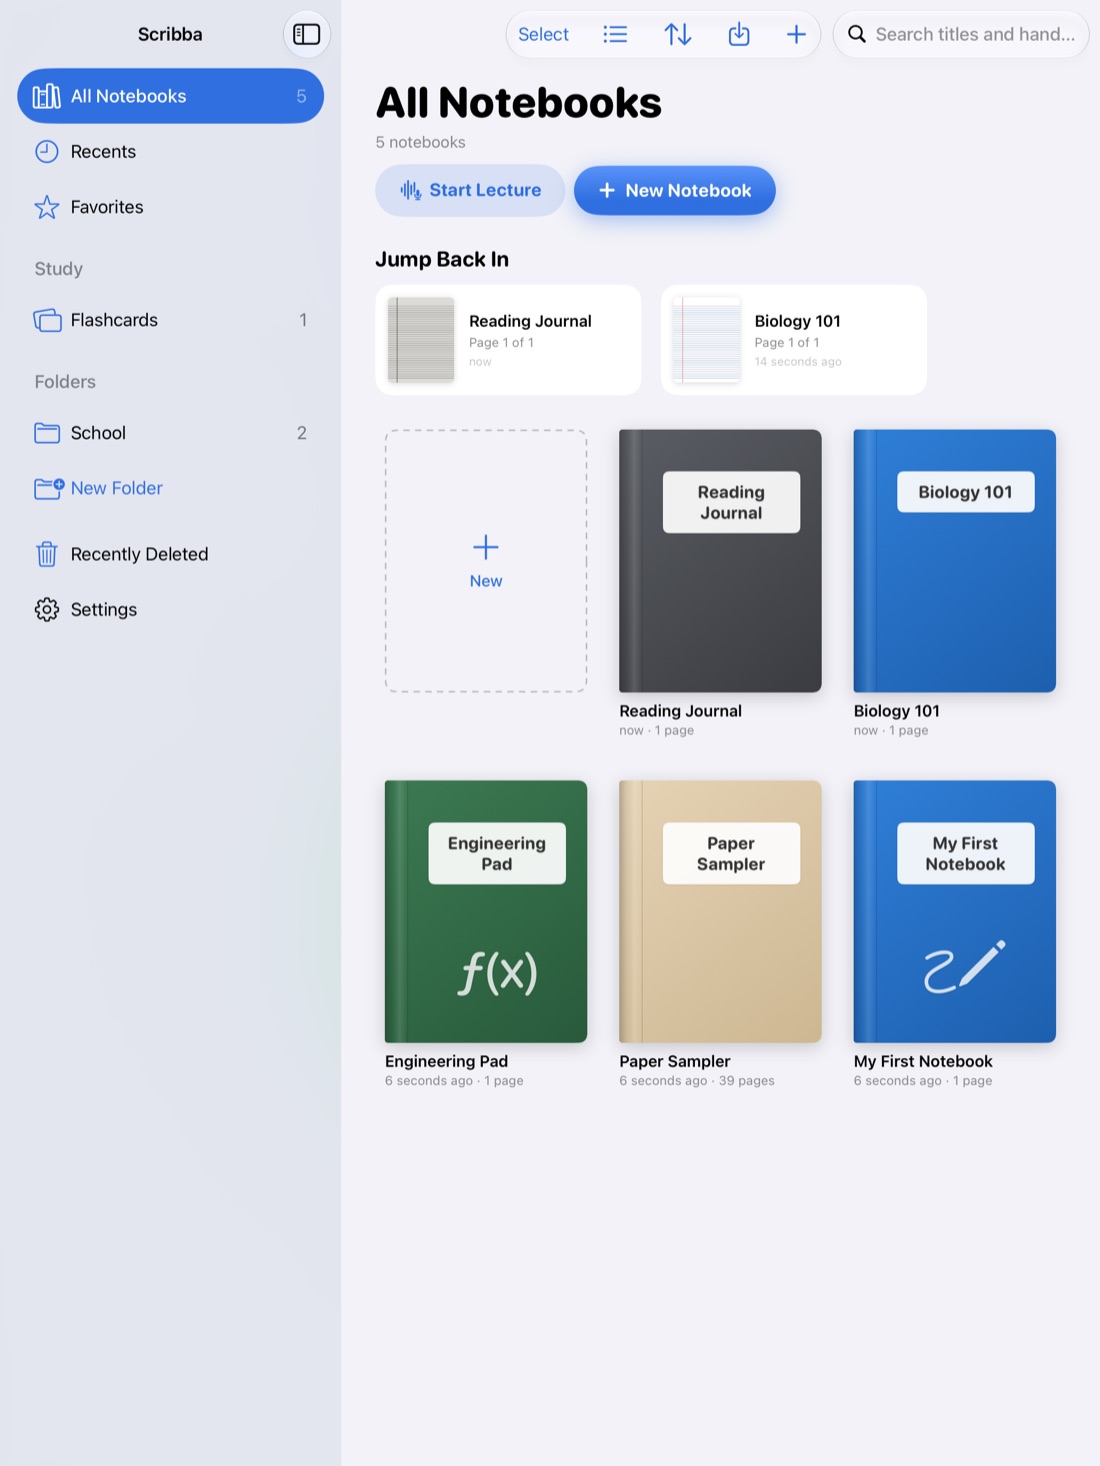
The notebook you need for tomorrow's exam isn't in your library. Or you swiped an eraser across a diagram you spent twenty minutes on. That sinking feeling is common, and most of the time the notes can come back, as long as you take the right steps in the right order.
This guide goes from the quickest fixes to the last resort: check whether the notes are really gone, undo, Recently Deleted, then a backup.
First, stop and don't make more changes
The moment you notice something missing, stop writing in that notebook. Every new change adds more steps between you and the one you want to undo. If you're in a hurry, it's better to take a minute to recover the notes than to keep going and make the fix harder.
Is it actually gone?
A lot of "deleted" notes turn out to be somewhere else. Check these before anything else:
- Search for it. Think of a word you know is on the page and search from the library. Scribba searches handwriting, typed text, PDF text and lecture transcripts across every notebook, and results open on the matching page. This finds pages that ended up in the wrong notebook. More in how to search handwriting on iPad.
- Look inside your folders. A notebook may have been moved into a folder, maybe along with several others you selected at once.
- Check the table of contents. In a long notebook, a page can be far from where you remember. The bookmarks in the page sidebar get you around quickly.
- On a second iPad, give sync a moment. If notes you wrote on one iPad haven't appeared on the other, open Settings › iCloud in Scribba. It shows the sync status, and Sync Now syncs right away. Both iPads need to be online.
Just erased or changed something: undo
If you erased, moved or drew over something a moment ago, undo is the fastest fix:
- Two-finger tap on the page to undo, three-finger tap to redo.
- ⌘Z to undo and ⇧⌘Z to redo on a keyboard.
- The undo and redo buttons on the tool palette.
Undo one step at a time and watch the page. If you go too far, redo brings the last step back. Do this right away, before you switch notebooks or start something else.
Keep accidental erasing from happening again
If you keep losing writing without meaning to, look at how it's happening:
- Scribble to erase. In Scribba, scribbling back and forth over writing erases it. It's quick on purpose, but if you tend to scribble while thinking, switch it off in Settings.
- Eraser type. The whole-stroke eraser removes an entire stroke with one touch, while the pixel eraser removes only what it passes over. If whole strokes keep disappearing, try the pixel eraser.
More gestures and shortcuts are in iPad keyboard shortcuts for notes.
Deleted a notebook: Recently Deleted
When you delete a notebook in Scribba, it isn't gone right away. It goes to Recently Deleted, which keeps deleted notebooks for 30 days. Open Recently Deleted in the library, touch and hold the notebook and choose Recover, and it's back with its pages.
Two things to keep in mind:
- Thirty days goes fast during a semester. If you deleted a notebook by mistake, restore it now rather than later.
- Selecting several notebooks at once is fast, for moving, favoriting or deleting. When you delete in bulk, read the selection twice before you tap Delete.
Past 30 days, or anything else: a backup
When undo and Recently Deleted can't help, a backup is your safety net. Scribba's Auto Backup saves a backup zip once a day, while Scribba is open, to a folder you choose in the Files app, and keeps the newest 7. You can also make one at any time with Save a Backup in Settings › Backups.
To get notes back from a backup:
- Open the Files app and find your backup folder. Look at the dates and pick the newest backup from before the notes went missing.
- Copy that backup somewhere safe, like another folder in iCloud Drive. Auto Backup keeps only the newest 7, so an older backup will eventually be replaced if you leave it in that folder.
- Save a backup of what you have now with Save a Backup. Restoring replaces your whole library with the backup, so this keeps today's work safe whichever way the restore goes.
- Use Restore a Backup in Settings › Backups and choose the file.
Tip: notice something missing after a few days? Act soon. Auto Backup keeps the newest 7 backups, so a snapshot from before the mistake won't stay in the backup folder forever.
If you never turned on Auto Backup, now is the time, before you need it again. How to back up iPad notes walks through the setup and where to keep the folder.
Don't count on sync as a recovery tool
iCloud Sync keeps your notebooks the same on every iPad you use. That's what you want for everyday work, but sync services are designed to pass changes along, and a deletion is a change. A backup is a snapshot from a moment in time, which is why it's the real safety net.
Build the safety net before you need it
A few habits mean the next mistake is a two-minute fix instead of a lost week:
- Keep Auto Backup on, with its folder in iCloud Drive so the backups live off your iPad.
- Save a Backup before any big cleanup, like deleting old semesters at the end of the year.
- Duplicate a page before a big edit. In the page sidebar, duplicate a page before rearranging it with the lasso, so the original is safe. How to move, reorder and duplicate pages has more on the page sidebar.
- Export finished classes as PDFs. A PDF of each class at the end of term is an extra copy you can read anywhere. See how to export iPad notes as a PDF.
Frequently asked questions
How long does Scribba keep deleted notebooks?
Thirty days, in Recently Deleted. After that, the only way back is a backup.
Can I get back a notebook I deleted more than 30 days ago?
Yes, if you have a backup from before you deleted it. Use Restore a Backup in Settings › Backups.
Are my deleted notes stored on Scribba's servers?
No. Scribba has no accounts and no servers holding your notes. Your notebooks live on your iPad and, if you turn on iCloud Sync, in your private iCloud. That's why your own backups matter.