 Scribba
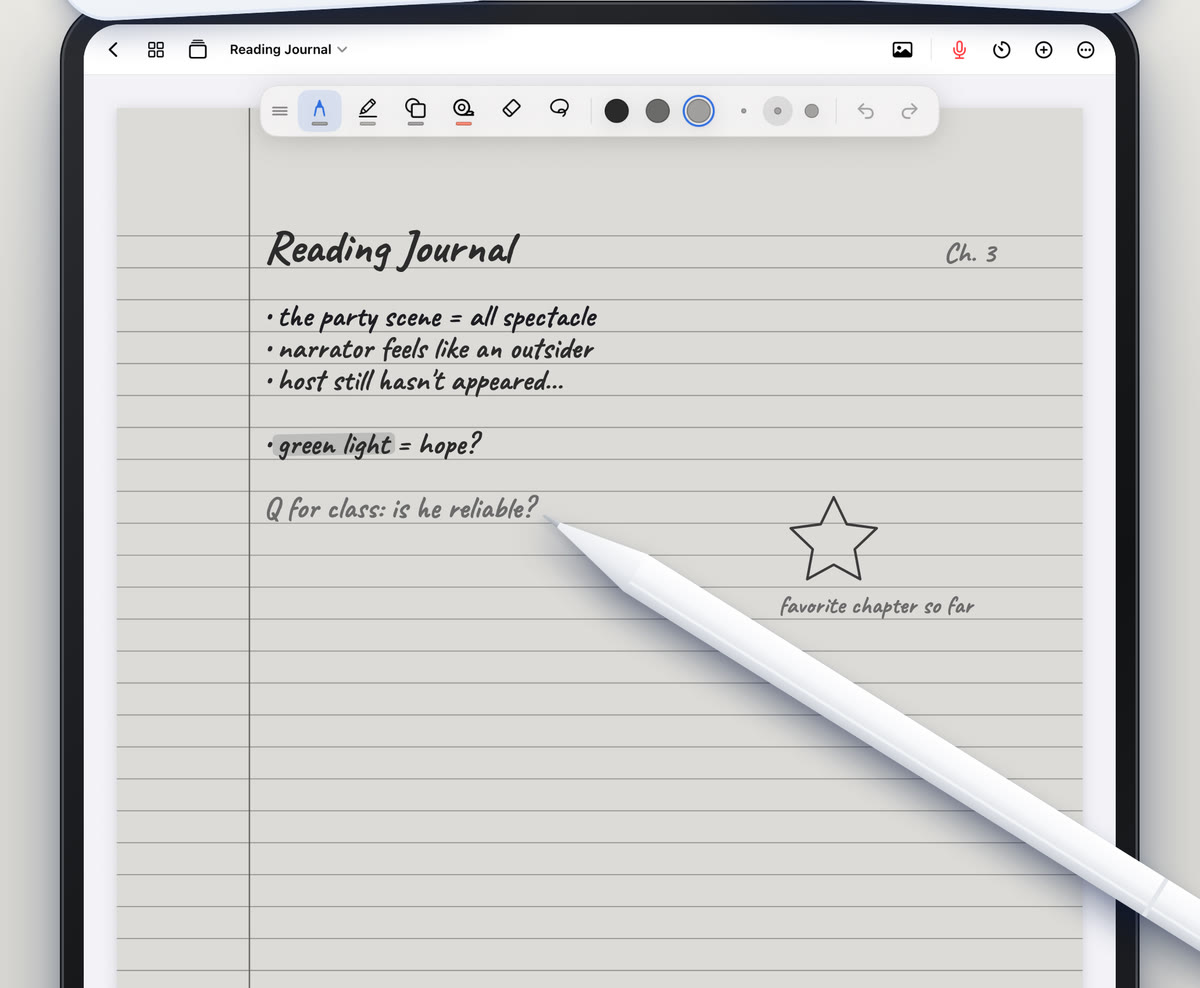
Highlighting feels like studying. You read, you swipe, the page fills with color, and it looks like work got done. Then the exam comes, you open your notes, and half of every page is yellow. Nothing stands out, because everything does.
Highlighting can help, but only when it's doing a specific job. This guide covers why heavy highlighting so often fails, how to highlight in a way that actually feeds your studying, and how to set up the highlighter on an iPad so it stays quick and neat.
Why over-highlighting doesn't help
Learning researchers generally rate highlighting on its own as one of the less effective study techniques. There are a few reasons for that:
- It's passive. Swiping a line takes no thinking. You can highlight a whole chapter without asking yourself a single question about it.
- It delays decisions. Highlighting while you read often means "this might matter." That's a decision postponed, not made.
- It hides what's important. When most of a page is colored, the color stops carrying information. You end up rereading everything anyway.
- Rereading feels like knowing. Looking over highlighted text is familiar, and familiarity is easy to mistake for memory. Recognizing an idea on the page isn't the same as being able to recall it on a blank exam sheet.
What works better is active recall: testing yourself by pulling ideas out of memory. Highlighting is useful when it sets that up. More in our guide to the active recall study method.
How to highlight so it helps
The fix isn't to stop highlighting. It's to highlight less, later and with a purpose.
- Read or listen first, highlight second. On a reading, finish a section before you highlight anything. You'll know what mattered once you've seen where the argument went.
- Highlight words, not sentences. A key term, a date, a name. If you need a whole sentence, you probably need to rewrite it in your own words instead.
- Keep it rare. A rough guide: no more than one or two highlights per paragraph or section of notes. If you're over that, pick the one that matters most.
- Pair every highlight with a note. Write why it matters in the margin: "definition", "exam?", "contrast with ch. 3". A highlight with a reason is a study prompt. A highlight alone is decoration.
- Turn highlights into questions. During review, take each highlighted term and write a question it answers. That's where the learning happens.
A simple color system
Color only helps if each color means one thing. Two or three is enough. For example:
- Yellow for key terms you'll need to define.
- Blue for exam signals, anything the professor repeated or said would be on the test.
- Pink for confusion, things to look up or ask about in office hours.
Write your system at the start of the notebook so you don't forget it mid-semester. Use the same colors in every class, so you never have to think about what a color meant. Once a pink item is resolved, you don't need to remove the color: write the answer next to it.
Tip: the "confusion" color is the most useful one. Before an exam, skim for it first. Every pink mark is a question you haven't answered yet.
Lecture notes vs. readings
Highlighting works differently depending on what you're marking up.
In your own lecture notes, most of what you wrote is already selective, so highlighting during class is rarely worth the time. Highlight during your review instead, when you can see which parts turned out to matter. Our ten-minute review routine builds this in.
On readings and slides, the text isn't yours, so highlighting is more tempting and more likely to get out of hand. Pair highlights with margin notes in your own words. Slides especially need this: highlighting a bullet point adds nothing the slide didn't already say. See how to annotate lecture slides on iPad.
Highlighting in Scribba
Scribba's highlighter strokes snap straight, so a quick swipe stays on the line instead of drifting into the line below. That keeps highlighting fast and tidy, even in a hurry.
A few ways to get to it quickly:
- Squeeze Apple Pencil Pro to switch between pen and highlighter.
- With a keyboard, ⌘1 to ⌘6 switch tools.
- Keep your colors saved. Each tool keeps three saved colors, so a three-color highlighting system is always one tap away. Tap the selected color to pick a new one.
Highlighting works on imported PDFs too, so you can mark up lecture slides and readings the same way as your handwritten pages.
On Scribba's dark papers, Charcoal and Black, test your highlighter colors first, since a color that works on white can look very different on a dark page. On E-Ink Books paper, highlighters write in e-ink grays, which keeps a page calm.
Hide instead of highlight
Here's a better use for many of the things you'd highlight: hide them. In Scribba, study tape covers an answer, a term or a diagram label, and you tap to peek. Instead of rereading a highlighted definition, you try to recall it first, then check. That turns a highlight into active recall. More in study tape on iPad.
For terms you need to memorize, a Vocabulary page goes one step further. Scribba reads your handwriting on it and turns each row into a flashcard, with no Apple Intelligence needed. See flashcards from handwritten notes.
Frequently asked questions
Is highlighting bad for studying?
Not on its own, but it's weak by itself. It helps when it marks a small number of things you'll then test yourself on. Heavy highlighting without review tends to give a false sense of knowing the material.
How many highlighter colors should I use?
Two or three, each with one meaning that stays the same across your classes. More colors take more thought and make pages harder to read.
Why does the highlighter in Scribba draw straight lines?
Its strokes snap straight on purpose, so a quick swipe stays on the line you meant to highlight.