 Scribba
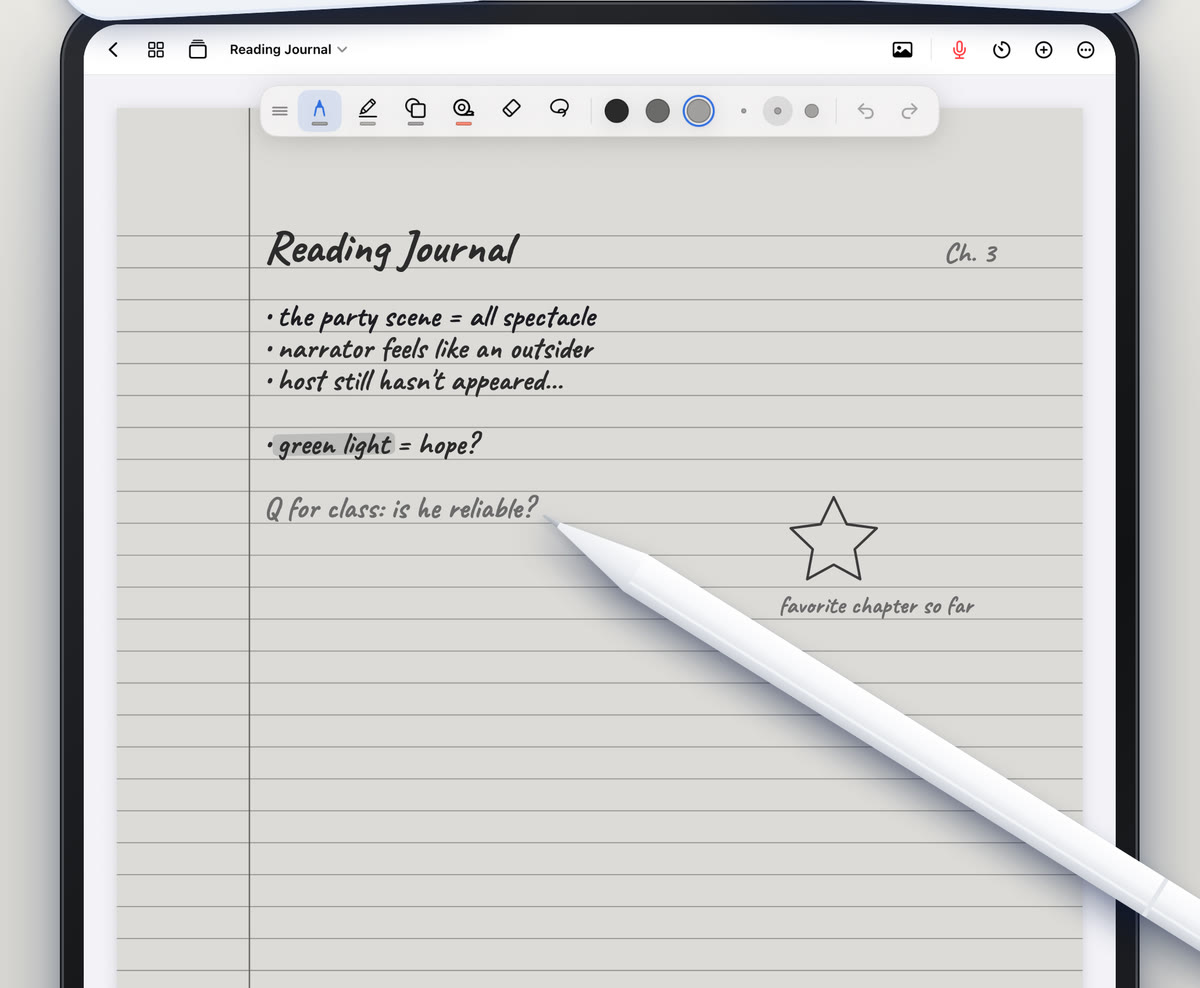
You reach the last page of a thirty-page reading, close the PDF and realize you couldn't say what the author argued. Your eyes covered every line, but nothing stuck. That's passive reading, and screens make it easy, because scrolling feels like progress.
Annotating is the fix. When you have to write something about each section, you have to understand it first. This guide covers assigned readings: journal articles, textbook chapters, case studies and course packets. For marking up your professor's slides during class, see how to annotate lecture slides on iPad. Readings call for a different approach.
Readings are not slides
Slides are an outline, and in class your job is to add what the outline leaves out. A reading is the full argument, and your job is the opposite: shrink it down to what matters. Good reading annotations answer three questions:
- What is the author claiming?
- What backs it up? Evidence, data, a method, a case.
- What do I make of it, and how does it connect to the course?
If your notes at the end of a reading can't answer those, you highlighted instead of read.
Before you read: a five-minute preview
Don't start at the first line. Get the shape of the piece first:
- Read the abstract or introduction, then the conclusion. For a research article, that gives you the finding before you work through the methods.
- Skim the headings, figures and tables. They show you where the argument goes.
- Check why it was assigned. Find it on the syllabus. The week's topic tells you what to watch for.
- Write one question at the top of the first page that you want the reading to answer.
Not every reading deserves the same depth. A primary source for a seminar paper needs a close read. A background chapter might only need the headings and a short summary. Decide before you start, so you spend your time where it counts.
While you read: a small, consistent system
Highlight less than you think
Highlighting is the easiest thing to do and the least useful on its own. A few rules keep it honest:
- Read the whole paragraph before you highlight anything in it. By the end, you'll know which sentence mattered.
- Highlight phrases, not paragraphs.
- Use two colors at most, with fixed meanings, such as yellow for the main claims and blue for evidence or definitions. Write the key on the first page.
- Pair every highlight with a word in the margin. If you can't say why you highlighted something, undo it.
Write in the margins
Margin notes are where the reading becomes yours. They can be very short:
- Paraphrase: "claim: sleep loss hurts recall" next to the paragraph that says it.
- Questions: "how did they measure this?"
- Reactions: "disagree, small sample" or "strong example for my paper."
- Connections: "same idea as lecture 5" or "contradicts week 2 reading."
- Symbols: a star for something worth citing, a question mark for confusion, a box around a term to define.
Stop at the end of each section
When you reach a new heading, pause and write one or two sentences about the section you just finished, in your own words, without looking back. If you can't, reread it. This is active recall on a small scale, and it's what makes a reading stick. More in the active recall study method.
After you read: one page that replaces the reading
Finish with a single page that saves you from ever rereading the whole thing. Include:
- The citation: author, title, year and page numbers, so you aren't hunting for them when you write a paper.
- The argument in two or three sentences.
- The key evidence or method, briefly.
- Terms you'll need to define.
- Your response: one strength, one weakness and one question for class.
At exam time, read these summary pages first. Go back into the PDF only for the passages you starred.
Annotating readings in Scribba
Here's how each step works in Scribba.
Get the reading in. Import the PDF as a new notebook or into the notebook for that class. For a course with a reading every week, importing into the class notebook keeps each reading next to the lecture it belongs with. A course packet you'll use all term can be its own notebook. For paper photocopies, scan them with the camera; see how to scan handouts.
Highlight neatly. Scribba's highlighter snaps its strokes straight, so highlights stay on the printed line even when you're reading on your lap. Each tool keeps its own saved colors, so set your two highlighter colors once and leave them.
Write in narrow margins. Article margins are tight. The Zoom Window lets you write at a comfortable size in a magnified strip, and your writing lands small and neat on the page. For longer comments you'd rather type, add a text box or sticky note from the + menu in the notebook's top bar.
Add your summary page. In the page sidebar, touch and hold the reading's last page and choose Add Page After, then change the new page's paper there. Cornell Notes works well here: write questions in the CUES & QUESTIONS column, notes in the NOTES column and your two-sentence version in the SUMMARY box. Add a bookmark named after the author and topic, so the notebook's table of contents lists every reading. See bookmarks as a table of contents.
Find it later. Text in imported PDFs is searchable along with your handwriting, so you can search a term from the library and land on the right page. A scanned PDF that's only pictures of pages may not have text to search, but your handwriting on it still is. More in how to search handwriting on iPad.
Keep the reading on one side. If you'd rather leave the PDF clean, open a notebook in its own window and put your notes beside the reading. Split View for notes explains the setup.
Tip: put new terms from a reading on a Vocabulary page, with its TERM and DEFINITION / EXAMPLE columns. Scribba can read your handwriting and turn each row into a flashcard, no Apple Intelligence needed.
On iPads that support Apple Intelligence, with it turned on, Scribba can also pull key points from any page of notes. Run it on your summary page to check that you caught the main ideas.
Frequently asked questions
Can I highlight and write on PDFs in Scribba?
Yes. Import the PDF as a new notebook or into the one you have open, then write, highlight and draw on it with any of Scribba's tools.
How do I annotate a reading that's a web page?
Save it as a PDF first. On iPad, the share button in most browsers can save a page as a PDF to the Files app. Then import that PDF.
Is annotating slower than just reading?
At first, yes. But it saves the second and third read-through, and your summary pages make exam review much faster than rereading every PDF.