 Scribba
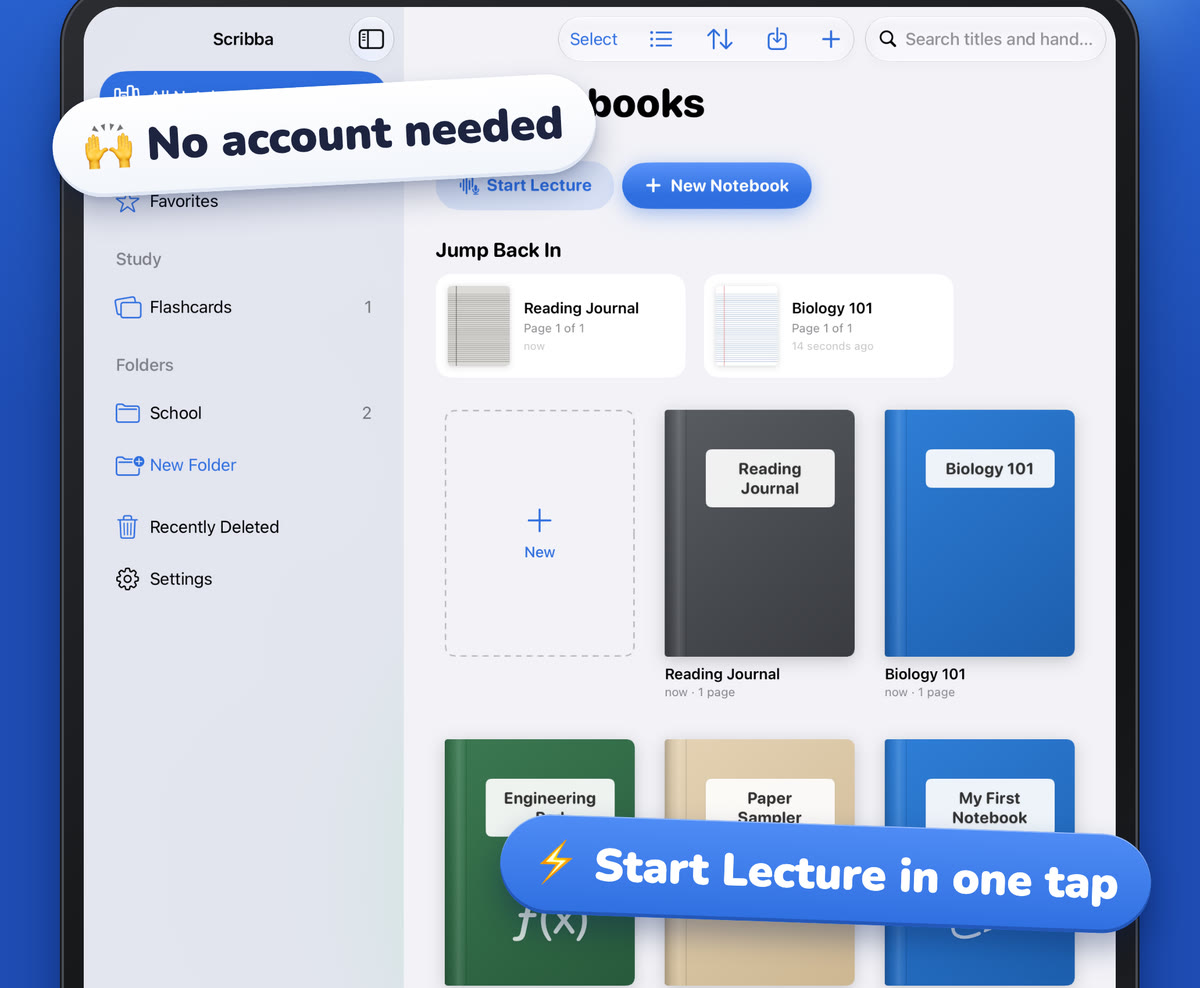
The first week of classes is the worst time to discover that your Apple Pencil isn't paired, your iPad wants a long software update, and the notes app you meant to try is still sitting in the App Store.
An hour of setup before the first lecture fixes all of that. This guide is a checklist in the order you'll need it: the weekend before, the night before, your first lecture, and the end of the first week.
The weekend before: the iPad itself
Start with the device, because these steps take the longest and need Wi-Fi.
- Update iPadOS. Updates can take a while to download and install. Do it now, not at 8:55 before your first class. Scribba needs iPadOS 17 or later.
- Pair and charge your Apple Pencil. Write a few test lines in any app. If you don't have a Pencil yet, check which models work with your iPad before you buy one; not every Pencil fits every iPad.
- Set a passcode and turn on Find My. An iPad left in a lecture hall is much easier to get back, and much less of a risk, when both are on.
- Check your storage. Open your iPad's Settings › General › iPad Storage and see how much room you have. If you plan to record lectures, give yourself plenty of space. Managing iPad storage for lecture recordings explains what takes up room.
- Check your iCloud space if you plan to sync notes or keep backups in iCloud Drive.
Set up a Focus for class
Notifications are the easiest way to lose the thread of a lecture. One group chat buzz and you're reading messages while the professor explains the thing that will be on the midterm.
iPadOS has a feature called Focus for exactly this. In your iPad's Settings › Focus, make one for class. Choose which people and apps can still reach you, and silence the rest. You can turn it on from Control Center when you sit down, or schedule it to match your class times so you don't have to remember.
A few choices that tend to work well:
- Allow calls from family or anyone who might need you in an emergency.
- Silence social apps and games completely during class.
For more on staying on task, see how to avoid distractions on iPad in class.
Make a charging plan
An iPad that dies in the middle of a lecture takes your notes for that hour with it. A plan is simple:
- Charge overnight, both the iPad and the Pencil, every night of the week.
- Pack your charger and cable for days with back-to-back classes.
- Expect recording to use battery. An hour of recording with the screen on adds up. Start long class days with a full charge.
In Scribba, the iPad's status bar is hidden by default so your notes get the whole screen. If you want to keep an eye on battery during class, turn on Settings › Screen › Show Time and Battery.
The night before: set up your notebooks
Now set up your notes, so the first lecture is just a matter of opening the right notebook. The simplest system is one folder for the semester and one notebook per class. How to organize iPad notes by semester goes into names, covers and folders in detail. Here's the short version in Scribba:
- Make a folder named after the term, like "2026 Fall."
- Make one notebook per class inside it. Give each a cover: a color, a subject icon or a photo.
- Pick a page size and orientation for each notebook as you create it. These are set per notebook, so choose landscape for a class where you'll put slides beside your notes, and portrait for the rest.
- Pick a paper for each class: ruled for lecture-heavy classes, grid or dot grid for math and science, Cornell Notes if you want a review column built in. You can change a page's paper later from the page sidebar. See note paper templates for iPad.
- Favorite your current classes so they're one tap away in the library.
Turn on backups before you write anything
It takes two minutes, and you only have to do it once. In Scribba:
- Settings › iCloud: turn on iCloud Sync, so your notebooks live in your private iCloud as well as on the iPad. You can leave recordings out if iCloud space is tight.
- Settings › Backups: turn on Auto Backup and choose a folder in iCloud Drive. Once a day while Scribba is open, a backup goes there, and the newest 7 are kept.
How to back up iPad notes explains why you want both.
Do a test run at home
Before the first real lecture, rehearse one. Open a class notebook, tap the mic, and talk for a minute while you write. The first time, your iPad asks for microphone access, and it's better to answer that prompt at your desk than in a quiet lecture hall. Then tap a word you wrote and check that playback jumps to that moment.
While you're there, try Start Lecture from the library. One tap adds a dated, bookmarked page to a class notebook and starts recording. You can also say "Start a lecture in Scribba" to Siri.
If your iPad supports Apple Intelligence, Scribba's Settings shows whether its study tools are ready, or why not. Those tools (key points, What Did I Miss? and asking the lecture questions) need an iPad that supports Apple Intelligence with it turned on, and iPadOS 26.
Your first lecture
The first lecture is usually lighter, which makes it a good place to settle your routine:
- Ask about recording. Policies vary by school, professor and location. Ask before you record, and if you have accommodations, they may cover it. See is it OK to record lectures?
- Note the syllabus essentials on the first page: exam dates, office hours, grading.
- Sit near the front if you're recording. Audio is clearer there.
- Turn on your class Focus as you sit down.
End of week one: a quick check
On Friday, spend ten minutes checking that it all worked:
- Open the Files app and confirm a Scribba backup landed in your folder.
- Make sure every class has a notebook and nothing ended up in the wrong one. If a page did, move it from the page sidebar.
- Look at your storage again if you recorded every class, so you know how fast it fills.
- Review the week's notes once. Reviewing notes after class is the habit that pays off at exam time.
Scribba is a free download with a 14-day free trial, then $7.99 a year or $19.99 once, so the first week is a fair test of whether it suits your classes.
Frequently asked questions
Do I need an Apple Pencil in the first week?
It helps, but you can start without one. In Scribba, turn on Settings › Draw with Finger, or type in text boxes. See how to take notes on iPad without an Apple Pencil.
Should I record every lecture?
Only where it helps and where you have permission. Recordings take the most space, so record the classes where you struggle to keep up.
Do I need an account to use Scribba?
No. Scribba doesn't need an account. Your notes stay on your iPad and, if you turn on sync, in your private iCloud.